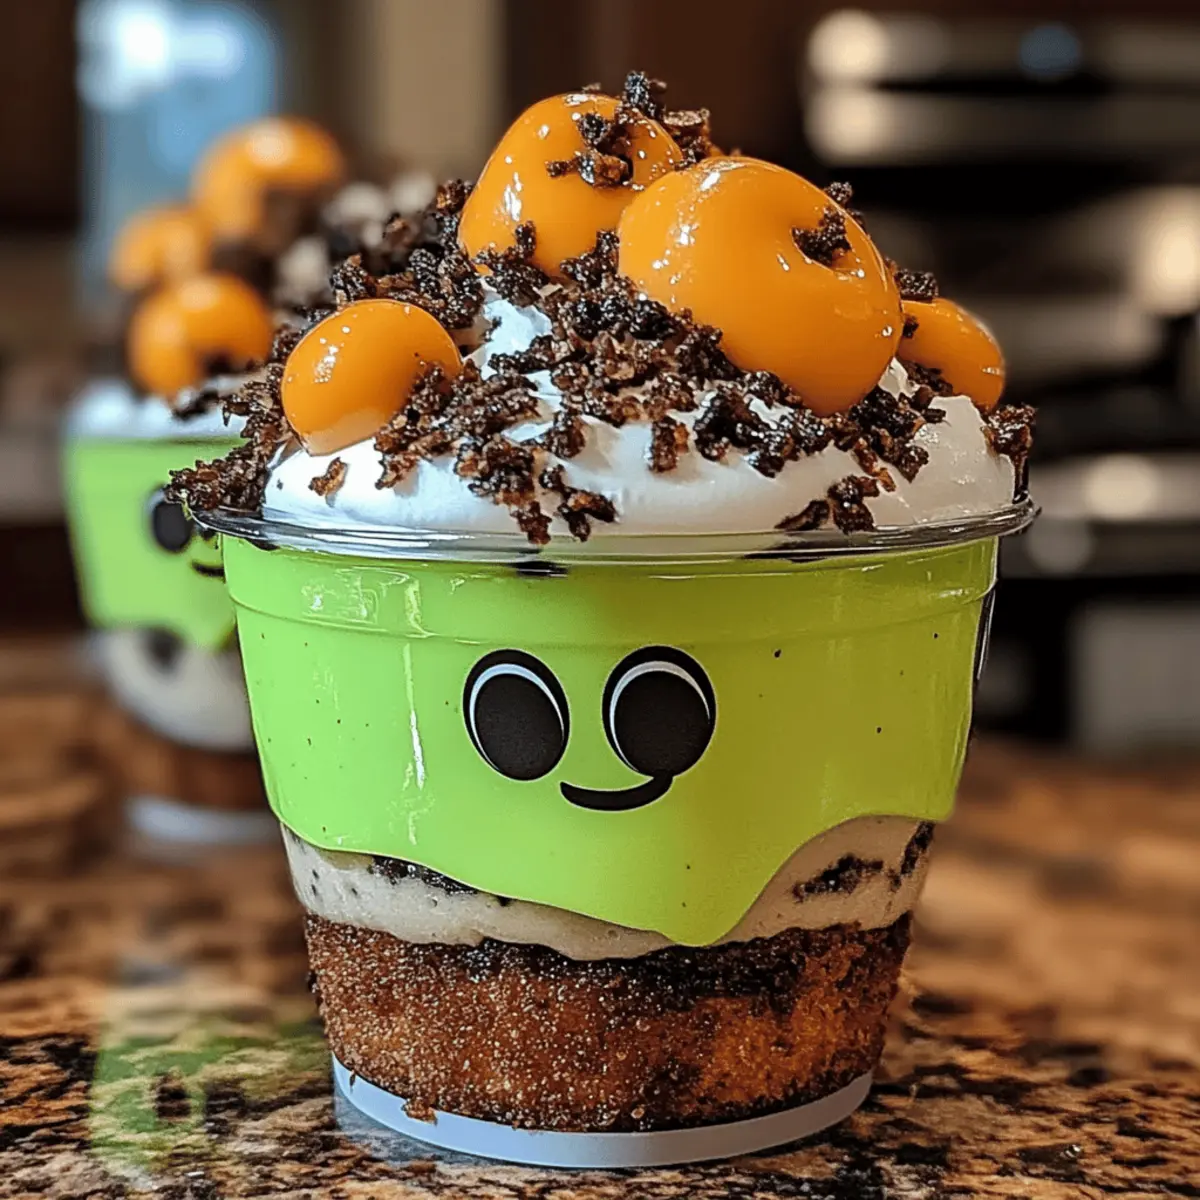
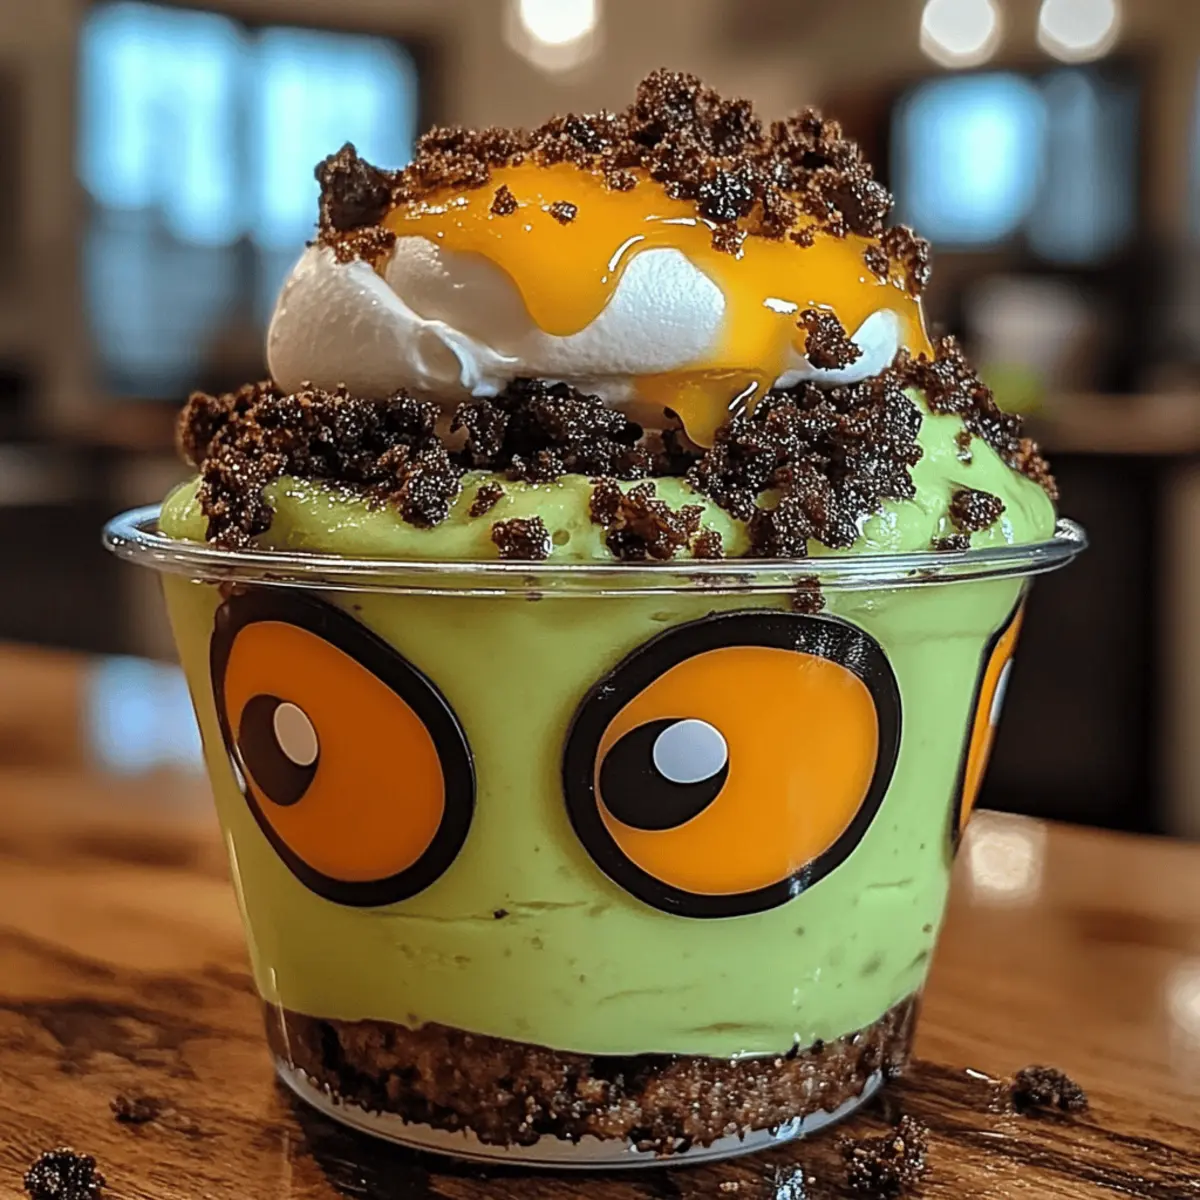
As I rummaged through my pantry, a fun idea sprang to life: why not create something deliciously spooky for Halloween? Enter my Zombie Dirt Pudding Cups, a hauntingly delightful dessert that stays in line with the season but is playful enough to be a hit with kids and adults alike. With just a quick prep time of 10 minutes, this recipe is a fantastic way to whip up a memorable treat without needing hours in the kitchen. Plus, it's completely customizable—whether you want it to look extra ghoulish with bone sprinkles or simply enjoy the creaminess of white chocolate and mint Oreos, you have options! Curious about how to make this frightfully fun dessert? Let’s dive in!
Why are These Pudding Cups a Must-Try?
Irresistible, spooky fun: These Zombie Dirt Pudding Cups bring Halloween spirit to life while staying delicious and creamy.
Quick prep time: In just 10 minutes, you can create a captivating dessert perfect for last-minute gatherings or school parties.
Customizable delight: Whether you add creepy skeleton sprinkles or keep it simple with mint Oreos, there’s room for creativity.
Kid-friendly appeal: Engaging and fun, this dessert will have both kids and adults raising their spoons for more.
Dive into this festive treat and watch your Halloween celebrations take on a spooktacular twist!
Zombie Dirt Pudding Cups Ingredients
For the Pudding Base
• Instant White Chocolate Pudding Mix – this forms the creamy, sweet foundation for your Zombie Dirt Pudding Cups.
• Whole Milk – adds the necessary liquid to activate and thicken the pudding mix.
• Green Food Coloring – a few drops transform the mix into a vibrant, spooky green that captures the essence of Halloween.
For the Crunchy Layer
• Mint Oreos – not only do they add a delightful minty flavor, but their dark color mimics real dirt perfectly.
For the Topping
• Cool Whip – folding this in gives your pudding a light, fluffy texture, enhancing the overall creaminess.
• Candy Eyeballs – create a fun and spooky effect by inserting these eerie candies; they’re sure to make your guests smile!
• Bone or Skeleton Sprinkles (optional) – for an extra festive touch, these sprinkles add a whimsical, creepy flair to your dessert.
Get ready to impress your family and friends with these fabulously eerie Zombie Dirt Pudding Cups!
Step‑by‑Step Instructions for Zombie Dirt Pudding Cups
Step 1: Prepare the Oreo Crust
Twist off one side of 12 Mint Oreos, ensuring the creamy filling remains on one side, then set aside the halves. In a food processor, crush the remaining Oreos into fine crumbs—this should take about 30 seconds. The fine texture will create a delightful “dirt” layer for your Zombie Dirt Pudding Cups.
Step 2: Make the Pudding Mix
In a large mixing bowl, combine 2 cups of whole milk with the instant white chocolate pudding mix. Using a whisk, vigorously mix the combination for 1-2 minutes until it thickens and becomes smooth; this mixture should have a stiff consistency. To give it a spooky touch, add a few drops of green food coloring and stir until fully incorporated.
Step 3: Fold in the Cool Whip
Gently fold 1 cup of Cool Whip into the thickened green pudding mixture. Use a spatula in a circular motion to combine, being careful not to deflate the Cool Whip too much. The mixture should be fluffy and creamy, perfect for layering in your Zombie Dirt Pudding Cups.
Step 4: Layer the Pudding Cups
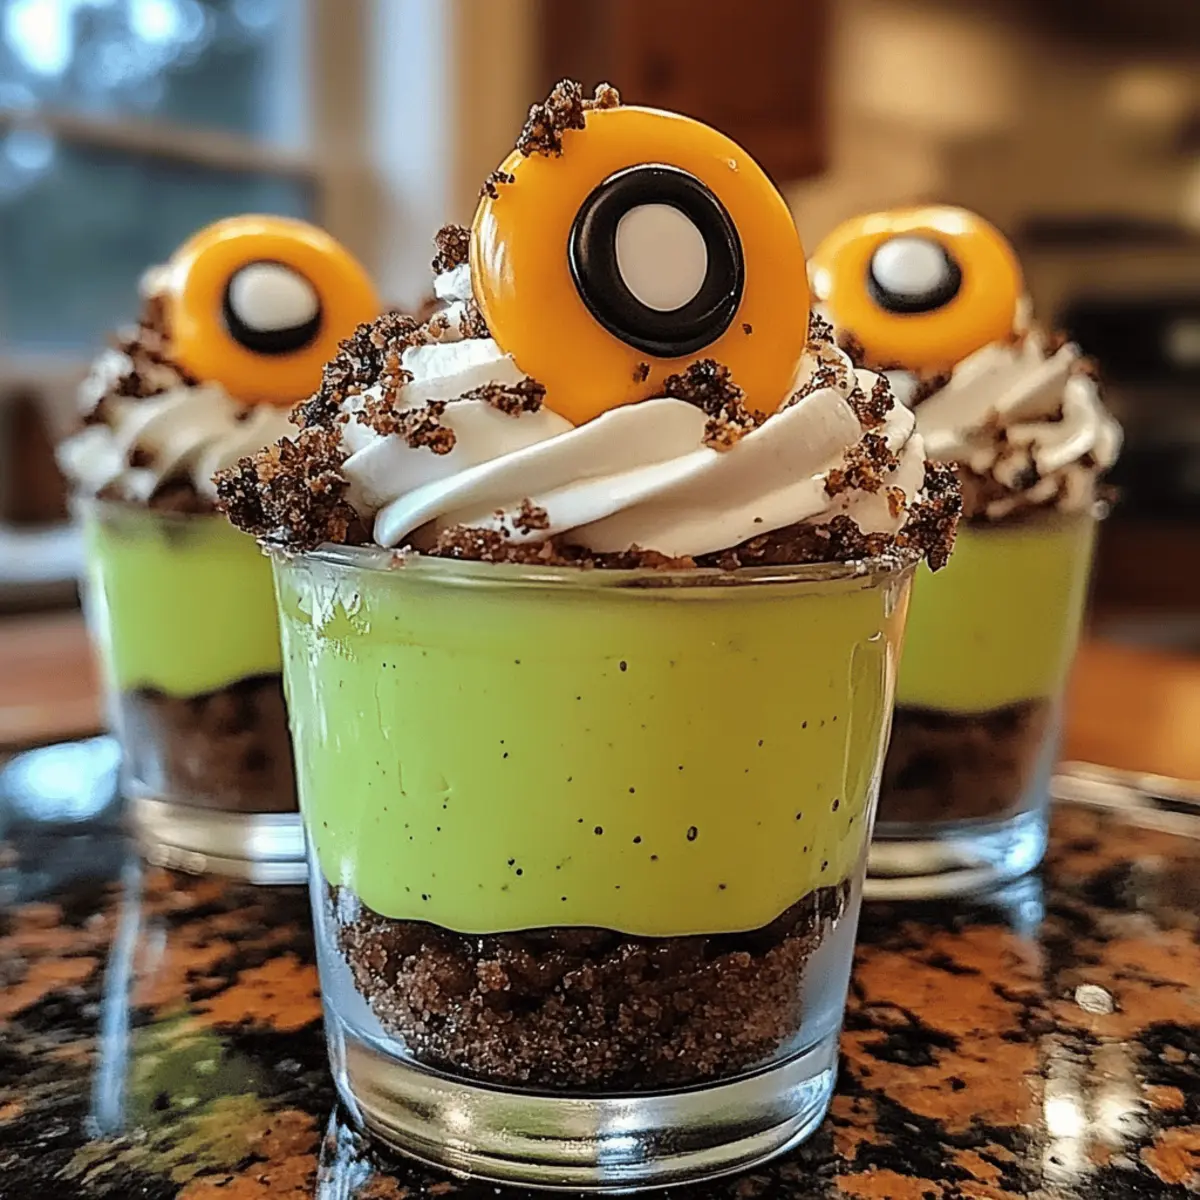
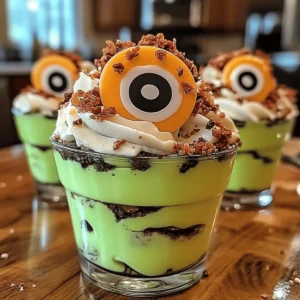
Begin layering your cups by placing 1-2 tablespoons of the crushed Oreo crumbs at the bottom of each serving cup to mimic dirt. Next, add a layer of the green pudding mixture, smoothing it out evenly. Repeat the layers until the cups are full, finishing with a lovely layer of pudding on top to showcase your spooky treat.
Step 5: Chill the Cups
Once you’ve completed your layers, place the pudding cups in the refrigerator to chill for at least 1 hour. This cooling time allows the pudding to set properly, ensuring that each bite is as delightful as it is spooky.
Step 6: Decorate with Eyeballs
Before serving, take one large and one small candy eyeball and press them into each Oreo half, creating the illusion of creepy eyes peering out. Insert these upright into the top layer of the pudding in each cup. This final touch will bring your Zombie Dirt Pudding Cups to life in a playful way.
Step 7: Add the Final Touches
For an extra festive flair, sprinkle some bone or skeleton sprinkles on top of each cup. This decorations will enhance the Halloween theme and add visual interest. Your Zombie Dirt Pudding Cups are now ready to wow your family and friends with their fun and spooky presentation!
How to Store and Freeze Zombie Dirt Pudding Cups
Fridge: Store your Zombie Dirt Pudding Cups in the refrigerator for up to 3 days. Make sure they are covered to maintain freshness and prevent absorbing any fridge odors.
Freezer: Freezing is not recommended for these pudding cups as the texture of the pudding can change, leading to a grainy consistency upon thawing.
Reheating: If you have any leftovers, simply enjoy them cold straight from the fridge. They taste best served chilled!
Feel free to whip up these delightful treats in advance; they’ll be a hit at any Halloween gathering!
Expert Tips for Zombie Dirt Pudding Cups
Perfectly Mixed Pudding: Make sure to whisk the pudding mixture vigorously. This helps avoid lumps and ensures a creamy texture for your Zombie Dirt Pudding Cups.
Use Cold Milk: For the best consistency, use cold whole milk. It helps the pudding mix thicken properly and gives it a delightful creaminess.
Crush Oreos Well: Ensure that your Mint Oreos are finely crushed. Large chunks won’t mimic the “dirt” look and texture you’re striving for.
Chill Thoroughly: Don’t skip the chilling time! Allow at least 1 hour for the pudding to set; otherwise, your layers may not hold up well.
Eyeball Placement: Insert the candy eyeballs just before serving to keep them looking fresh and fun in your Zombie Dirt Pudding Cups.
Creative Toppings: Feel free to get creative with toppings—try adding gummy worms or spooky edible glitter to enhance the Halloween vibe!
Make Ahead Options
These Zombie Dirt Pudding Cups are perfect for meal prep, allowing you to create festive treats ahead of time! You can prepare the pudding layers and crush the Oreos up to 24 hours in advance. Simply mix the pudding with milk, add green food coloring, and fold in the Cool Whip, then layer with crushed Oreos in your serving cups. Before serving, refrigerate the cups so they can set properly. For the best results, add the candy eyeballs and sprinkles just before serving to maintain their freshness and visual appeal. By preparing in advance, you’ll save precious time on party day, leaving more room for fun!
Zombie Dirt Pudding Cups Variations
Feel free to let your imagination run wild with these fun twists on the classic Zombie Dirt Pudding Cups!
- Dairy-Free: Substitute whole milk with almond or coconut milk and replace Cool Whip with dairy-free whipped topping for a creamy texture.
- Chocolate Lovers: Use chocolate pudding mix instead of white chocolate for a rich, dark twist that’s sure to satisfy any chocoholic.
- Extra Crunch: Add crushed nuts or chocolate graham crackers on top for an added crunch that enhances the “dirt” layer experience.
- Spooky Gummy Worms: Insert gummy worms just before serving for a playful touch—kids will love discovering these creepy crawlies!
- Different Color Schemes: Swap green food coloring for orange to create a pumpkin-flavored version, ideal for a fall-themed dessert.
- Mint Chocolate Variation: Use regular Oreos instead of Mint for a chocolatey depth, or switch to peppermint extract for a minty kick while keeping the white chocolate base.
- Heated Up Flavor: Add a pinch of cayenne pepper or chili powder to the pudding for an unexpected kick—spicy and sweet are a winning combo!
- Layered Surprise: Add a layer of fruit puree, like raspberry or strawberry, between the pudding and dirt to surprise your taste buds with a fruity twist.
Let your creativity shine through and enjoy these spooky delights even more!
What to Serve with Zombie Dirt Pudding Cups
Create a spooktacular spread that complements your delightfully ghoulish dessert!
-
Creepy Cheese Platter: A mix of cheeses shaped like ghosts or pumpkins adds a savory contrast while keeping the Halloween theme alive.
-
Witch's Brew Soup: A hearty green vegetable soup can enhance the meal's theme while providing warmth, perfect for chilly autumn evenings.
-
Mummy Dogs: These fun, wrapped hot dogs are a child-friendly favorite, offering a playful touch that pairs well with your pudding cups.
-
Spider Web Dip: A layered bean dip topped with sour cream webs can serve as a tasty and spooky appetizer, enticing guests to dig in!
-
Bloody Shirley Temple: This festive drink, complete with grenadine, will delight both kids and adults, bringing a fun, sweet touch to your Halloween feast.
-
Pumpkin Spice Cookies: Sweet and spicy, these cookies offer a seasonal finish to your meal, perfectly balancing the creaminess of the Zombie Dirt Pudding Cups.
With these pairing ideas, your Halloween gathering will be both delicious and delightfully eerie!
Zombie Dirt Pudding Cups Recipe FAQs
What type of Mint Oreos should I use?
Absolutely, I recommend using regular Mint Oreos for the best flavor contrast. The minty filling adds a delightful surprise that pairs beautifully with the white chocolate pudding, enhancing the overall spooky experience!
How do I store Zombie Dirt Pudding Cups?
You can store your Zombie Dirt Pudding Cups in the refrigerator for up to 3 days. Just make sure to cover them with plastic wrap or place them in an airtight container to keep them fresh and free from any unwanted fridge smells. If you don’t have the cups completely covered, the layers may dry out.
Can I freeze these pudding cups?
Freezing is not the best option for Zombie Dirt Pudding Cups. The pudding has a creamy texture that can turn grainy once thawed. Instead, I suggest enjoying these spooky treats fresh from the fridge! If you do have leftovers, they’ll keep well in the fridge for 3 days.
What should I do if my pudding doesn't thicken?
If your pudding mixture doesn’t thicken after whisking for 1-2 minutes, allow it to sit for a few more minutes. Sometimes, letting it rest helps it to set. Just ensure you’ve used the correct ratio of milk to pudding mix as called for in the recipe!
Are these pudding cups suitable for kids with allergies?
These Zombie Dirt Pudding Cups contain dairy and may have gluten due to the Oreos. If you're making them for children with allergies, consider using dairy-free milk and gluten-free Oreos. There are also many plant-based Cool Whip alternatives available. Always check labels to ensure all ingredients are allergy-friendly!
Enjoy the delightful creativity with your Zombie Dirt Pudding Cups, and have a spooktacular Halloween!
Irresistibly Fun Zombie Dirt Pudding Cups for Halloween Delights
Equipment
- food processor
- mixing bowl
- spatula
Ingredients
For the Pudding Base
- 1 packet Instant White Chocolate Pudding Mix
- 2 cups Whole Milk Use cold for best results.
- a few drops Green Food Coloring To achieve a spooky green color.
For the Crunchy Layer
- 12 cookies Mint Oreos Crushed for the dirt layer.
For the Topping
- 1 cup Cool Whip For a light and fluffy texture.
- 6 pieces Candy Eyeballs For decoration.
- to taste Bone or Skeleton Sprinkles Optional for decoration.
Instructions
Step-by-Step Instructions
- Twist off one side of the Mint Oreos, set aside the halves, and crush the remaining Oreos into fine crumbs.
- In a large bowl, combine whole milk and instant pudding mix. Whisk vigorously for 1-2 minutes until thick.
- Add green food coloring to the thickened pudding and stir until fully combined.
- Fold in Cool Whip gently to maintain a fluffy texture.
- Layer crushed Oreo crumbs at the bottom of cups, then add green pudding mixture. Repeat until cups are full.
- Chill the cups in the refrigerator for at least 1 hour to set.
- Press candy eyeballs into the Oreo halves and insert upright into the top layer of pudding for decoration.
- Sprinkle with bone or skeleton sprinkles before serving.