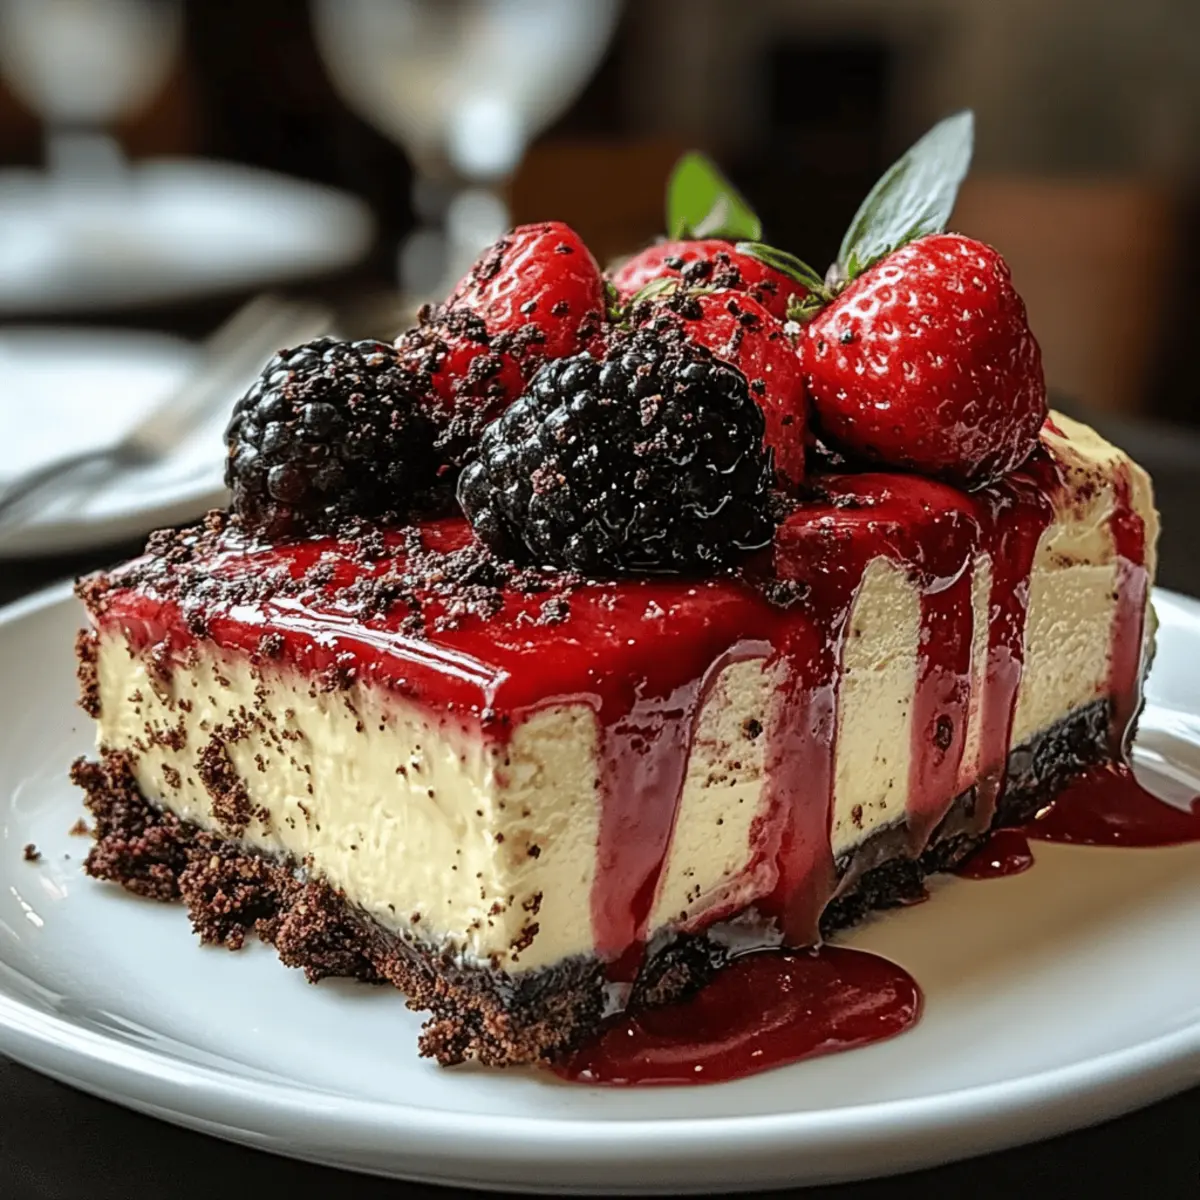
It was a dazzling afternoon when I remembered the joyful chatter of family gathered around the table, a sight made even sweeter by the sight of my Red Velvet Oreo Cheesecake gleaming in the center. As I lifted the lid, a wave of excitement sparkled in the air. This cheesecake isn't just any dessert; it's a delightful fusion of creamy cheesecake richness with the nostalgic crunch of Oreo cookies and a pop of stunning red hue. What’s more, it offers a quick prep time that keeps you out of the kitchen and allows you to indulge in creating memories instead. Plus, it's a guaranteed crowd-pleaser that transforms any gathering into a celebration! Are you ready to create a dessert that's as enchanting to look at as it is to savor? Let’s dive into this luscious recipe together!
Why is this cheesecake so irresistible?
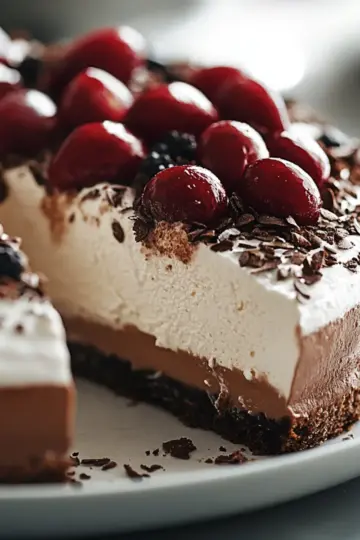
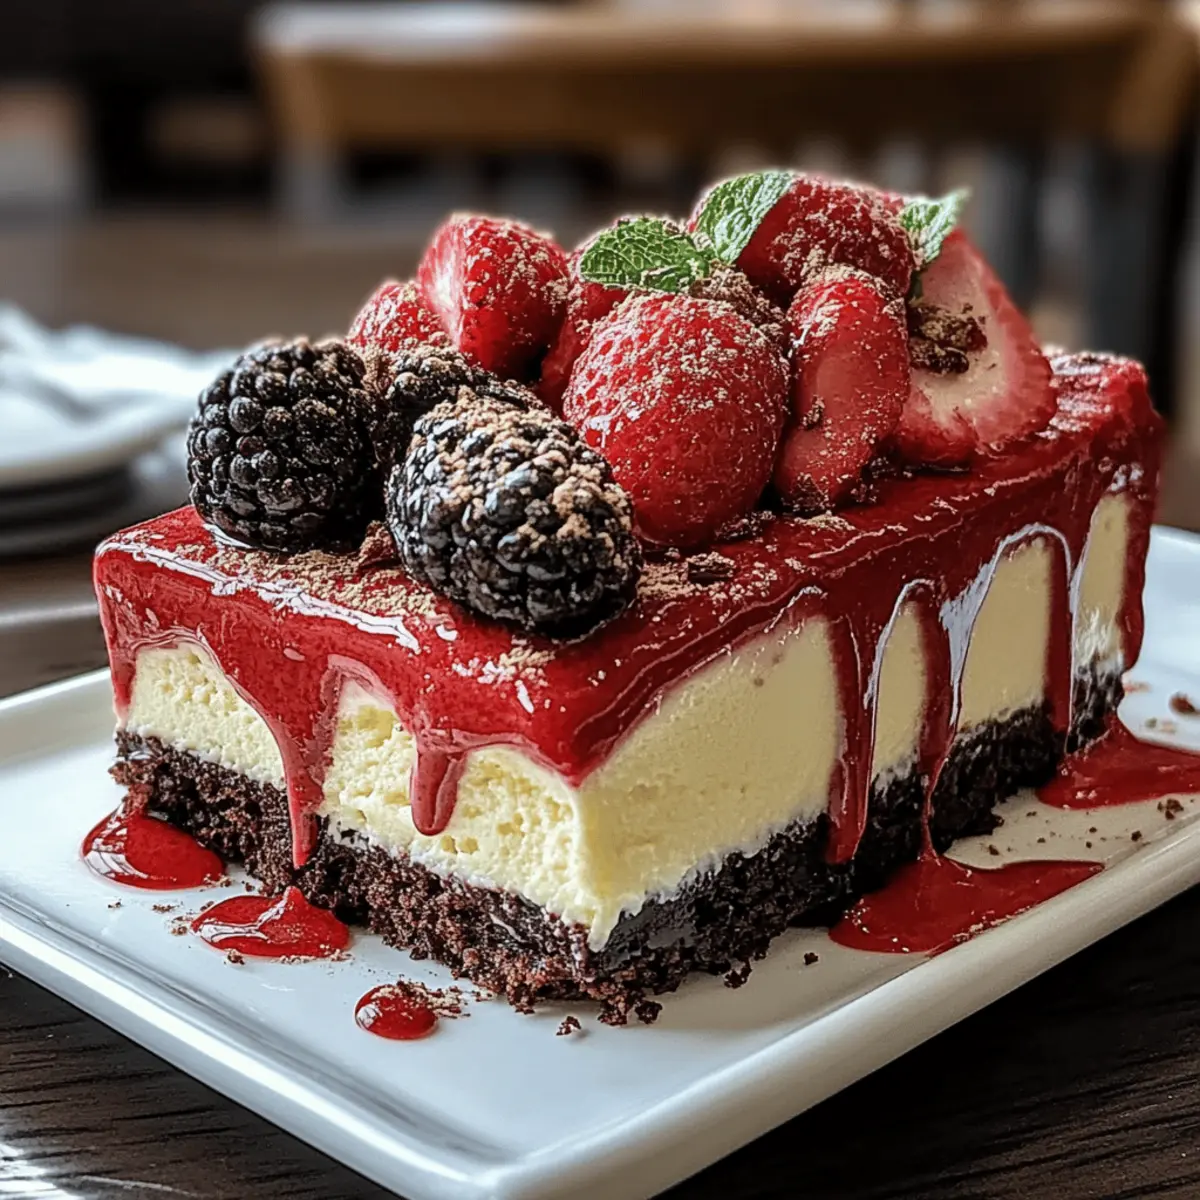
Delectable Layers: Imagine a smooth, creamy filling enveloped in a decadent cookie crust, creating a blissful bite every time.
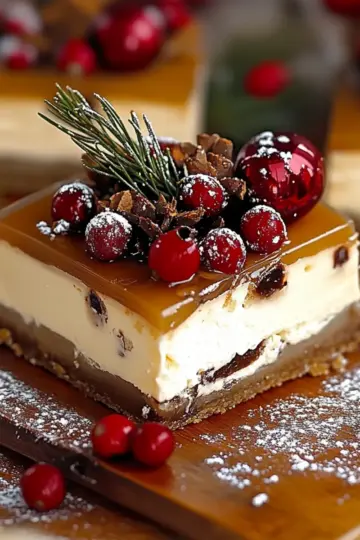
Visual Treat: The vibrant red color adds a festive touch that captures attention and brings joy to any occasion.
Quick Prep: With just 20 minutes of prep time, you can get back to spending quality time with loved ones while this cheesecake bakes to perfection.
Endlessly Versatile: Whether it's a birthday party or a cozy family dinner, this cheesecake is a go-to dessert that suits every celebration.
Ultimate Crowd-Pleaser: Loved by all, it will undoubtedly make you the star of your next gathering!
Red Velvet Oreo Cheesecake Ingredients
• Get ready to gather what you need for this captivating dessert!
For the Crust
- 24 Oreo cookies – The classic chocolate flavor provides a delightful contrast to the creamy filling.
- 5 tablespoons butter, melted – This helps bind the crust together and adds richness.
For the Filling
- 16 oz cream cheese, softened – The base of your cheesecake, lending that creamy texture we all love!
- 1 cup sugar – Sweetness is key, balancing the flavors beautifully in this cheesecake.
- 3 large eggs – They add structure to the cheesecake, giving it a perfect custard-like consistency.
- 1 teaspoon vanilla extract – A splash of vanilla enhances the overall flavor profile exquisitely.
- 1 cup sour cream – Adds tanginess and helps create that wonderfully creamy mouthfeel.
- 2 tablespoons cocoa powder – This enhances the chocolate flavor without overpowering the dish.
- 1 tablespoon red food coloring – The secret to that striking red hue, making it irresistible visually!
Feel free to set your creative spirit free while preparing this delicious Red Velvet Oreo Cheesecake!
Step‑by‑Step Instructions for Red Velvet Oreo Cheesecake
Step 1: Preheat the Oven
Begin by preheating your oven to 325°F (160°C). This crucial step ensures that your Red Velvet Oreo Cheesecake bakes evenly, achieving that perfect creamy texture. While the oven warms up, gather your baking tools: a 9-inch springform pan, mixing bowls, and a spatula.
Step 2: Prepare the Crust
In a medium bowl, crush the 24 Oreo cookies until you achieve fine crumbs. Pour in the 5 tablespoons of melted butter and mix well until combined. Next, press this mixture firmly into the bottom of your springform pan to form the crust, making sure it's evenly packed for a solid foundation.
Step 3: Bake the Crust
Place the crust in your preheated oven and bake it for 10 minutes. This will help the crust hold its shape and add a little crunch. Once done, remove it from the oven and allow it to cool completely while you prepare the filling—this helps to keep the layers distinct.
Step 4: Make the Cheesecake Filling
In a large mixing bowl, beat together the 16 oz of softened cream cheese and 1 cup of sugar using an electric mixer. Mix until you have a smooth and creamy texture, free of lumps. This should take about 2-3 minutes, so you can enjoy the sound of the mixer as it works magic!
Step 5: Incorporate the Eggs
Add the 3 large eggs to the cream cheese mixture, one at a time. After each egg, mix until fully incorporated and smooth. This gradual addition helps create an airy filling that contributes to the lightness of your Red Velvet Oreo Cheesecake.
Step 6: Add Flavor Components
Stir in 1 teaspoon of vanilla extract, 1 cup of sour cream, 2 tablespoons of cocoa powder, and 1 tablespoon of red food coloring. Mix gently until everything is well blended. The rich red hue and chocolate flavor will come together beautifully, making this cheesecake as delicious as it is stunning.
Step 7: Pour the Filling
Carefully pour the cheesecake filling over the cooled Oreo crust, using a spatula to smooth the top evenly. This step is essential for achieving that beautiful, glass-like finish on your Red Velvet Oreo Cheesecake that will impress your family and friends.
Step 8: Bake the Cheesecake
Bake the cheesecake in the oven for about 60 minutes. The edges should be set, while the center retains a gentle jiggle—this is the perfect sign that your cheesecake will still be creamy after cooling. Avoid overbaking it for best results!
Step 9: Cool in the Oven
Once the baking time is up, turn off the oven and let the cheesecake cool with the door slightly ajar for about 30 minutes. This gradual cooling method prevents cracks from forming and allows for a smoother top, enhancing the overall presentation of your Red Velvet Oreo Cheesecake.
Step 10: Chill the Cheesecake
After cooling, cover the cheesecake with plastic wrap and refrigerate for at least 4 hours or overnight. This chilling period is essential as it allows the flavors to develop fully and helps set the cheesecake to the perfect sliceable consistency.
Step 11: Serve with Toppings
Before serving, uncover the cheesecake and top with whipped cream, a sprinkle of Oreo crumbs, and chocolate shavings if desired. Each bite will be a delightful celebration, showcasing your homemade Red Velvet Oreo Cheesecake’s luscious layers and flavors!

Make Ahead Options
These Red Velvet Oreo Cheesecake treats are perfect for busy home cooks looking to save time! You can prepare the crust and filling up to 24 hours in advance. Simply crush the Oreo cookies and mix them with melted butter to form the crust, then press it into the pan. For the filling, blend the cream cheese, sugar, and other ingredients, pour the mixture over the crust, and refrigerate it overnight (this enhances flavor!). When you're ready to serve, bake the cheesecake and follow the cooling instructions. Keeping it properly covered ensures it remains just as delicious, making your dessert-ready with minimal effort!
What to Serve with Red Velvet Oreo Cheesecake
Elevate your dessert experience with delightful pairings that enhance the magic of your cheesecake masterpiece.
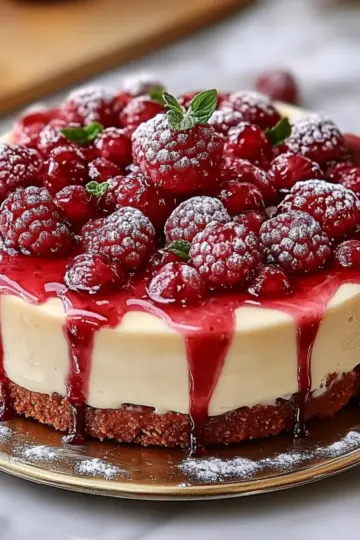
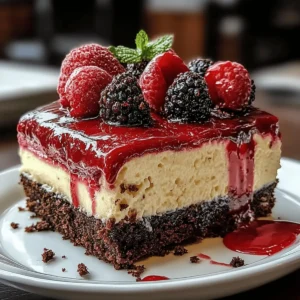
- Fresh Berries: A medley of strawberries and raspberries adds a refreshing tartness, balancing the sweetness of the cheesecake beautifully.
- Chocolate Drizzle: A warm chocolate sauce accentuates the rich flavors while offering a visually stunning presentation.
- Whipped Cream: Light and airy, it adds a fluffy texture that complements the dense creaminess of your Red Velvet Oreo Cheesecake.
- Vanilla Ice Cream: A scoop of this classic dessert brings a delightful contrast in temperature and creaminess, enhancing indulgence in every bite.
- Coffee or Espresso: The bold flavors of coffee create a lovely harmony with the cheesecake's richness, making it a perfect pairing for after dinner.
- Mint Leaves: A few fresh mint leaves add a pop of color and a hint of freshness, providing a palate cleanser amid rich flavors.
- Chocolate-Covered Strawberries: These decadent treats are a playful nod to the combination of chocolate and sweetness found in the cheesecake.
- Nutty Biscotti: Crunchy and subtly sweet, biscotti provides a fantastic texture contrast and pairs perfectly with a cup of coffee.
- Fruit Salad: A colorful bowl of seasonal fruits adds vibrancy and a lightness to your dessert table, rounding out the meal beautifully.
Expert Tips for Red Velvet Oreo Cheesecake
• Perfect Crust Texture: Use finely crushed Oreo cookies for an even crust. Avoid leaving large chunks, as they can hinder the cheesecake's structure.
• Room Temperature Cream Cheese: Make sure your cream cheese is softened to room temperature for a silky-smooth filling. Cold cream cheese can lead to lumps.
• Gentle Mixing: Mix the filling ingredients just until combined to prevent incorporating too much air, which can create cracks during baking.
• Bake with Care: Watch for the edges to set while keeping the center slightly jiggly. Overbaking causes dryness, compromising the creamy texture we love in a Red Velvet Oreo Cheesecake.
• Chill Before Serving: Patience pays off! Allow the cheesecake to chill for at least 4 hours, or overnight for optimal flavor and texture development.
• Presentation Matters: A sprinkle of Oreo crumbs and chocolate shavings not only enhances flavor but also adds visual appeal. Enjoy the compliments that come your way!
How to Store and Freeze Red Velvet Oreo Cheesecake
Fridge: Store any leftover slices of your Red Velvet Oreo Cheesecake in an airtight container in the fridge for up to 3 days. This keeps the flavors fresh while maintaining that creamy texture.
Freezer: For longer storage, wrap individual portions tightly in plastic wrap, then foil, and freeze for up to 1 month. Be sure to label them for easy identification later!
Thawing: When ready to enjoy, transfer the cheesecake to the fridge and let it thaw overnight. This ensures it retains its luscious creaminess for the perfect bite.
Reheating: It’s best served chilled, but if you prefer a warm treat, gently heat it in the microwave for a few seconds, just until softened—but not hot!
Red Velvet Oreo Cheesecake Variations
Feel free to unleash your culinary creativity and personalize this cheesecake for your taste buds!
-
Gluten-Free: Use gluten-free Oreo cookies in the crust to make this cheesecake suitable for those with gluten sensitivities. It won’t sacrifice a bit of flavor!
-
Low-Sugar Option: Swap the regular sugar for a low-calorie sweetener like erythritol or stevia. This allows you to enjoy the same delicious taste without the extra sugar.
-
Extra Chocolatey: Add ½ cup of chocolate chips to the filling for a decadent chocolate version. Every bite becomes a rich experience for chocolate lovers.
-
Fruit Fusion: Top with fresh strawberries or raspberries before serving for a delightful contrast. The tartness balances the richness, creating a harmonious blend of flavors.
-
Nutty Twist: Mix in ½ cup of finely chopped pecans or walnuts into the filling. This adds a lovely crunch that pairs deliciously with the smooth cheesecake.
-
Spicy Kick: Add a pinch of cayenne pepper in the filling for a surprising heat. It’s a delightful twist that elevates the flavor profile and excites the palate.
-
Coffee Infusion: Stir in 1 tablespoon of instant espresso powder into the filling for a mocha-flavored cheesecake. It's a perfect collaboration of coffee and dessert.
-
Vegan Style: Use vegan cream cheese and dairy-free cookies in the crust for a plant-based version. Everyone can enjoy a slice while maintaining their dietary choices!
Red Velvet Oreo Cheesecake Recipe FAQs
What kind of Oreos should I use for the crust?
Absolutely! Original Oreo cookies are ideal for the crust due to their classic flavor and texture. However, you can use other flavored varieties like Double Stuff or even the seasonal Halloween Oreos for a festive twist!
How long can I store the cheesecake in the fridge?
You can keep your Red Velvet Oreo Cheesecake fresh in the fridge for up to 3 days. Just make sure to store it in an airtight container to maintain its creamy texture and flavor.
Can I freeze leftover cheesecake?
Very much so! To freeze your cheesecake, wrap individual slices tightly in plastic wrap, then in aluminum foil to prevent freezer burn. It will stay delicious in the freezer for up to 1 month. When you’re ready to enjoy, transfer it to the fridge to thaw overnight!
What should I do if my cheesecake cracks while baking?
Don't worry, it happens! If you see cracks, ensure that you're mixing the batter gently and not overbaking. For a smoother presentation, consider serving it with whipped cream or a drizzle of chocolate—those small imperfections can become part of its charm!
Is this cheesecake safe for those with allergies?
Be cautious—this recipe contains allergens like dairy (cream cheese and sour cream) and gluten (Oreo cookies). For those with dietary restrictions, you can substitute with gluten-free Oreos and vegan cream cheese to create a delicious alternative that suits various diets!
How can I tell when my cheesecake is done baking?
You'll want to look for the edges to be set while the center remains a gentle jiggle. An internal temperature of around 150°F (65°C) indicates that it’s perfectly cooked. If it starts to puff up substantially in the center, it may be overbaked! Always err on the side of caution for that creamy texture we adore.
Indulgent Red Velvet Oreo Cheesecake You Can't Resist
Equipment
- 9-inch springform pan
- mixing bowls
- spatula
- electric mixer
Ingredients
For the Crust
- 24 cookies Oreo The classic chocolate flavor provides a delightful contrast to the creamy filling.
- 5 tablespoons butter, melted Helps bind the crust together and adds richness.
For the Filling
- 16 oz cream cheese, softened The base of your cheesecake, lending that creamy texture we all love!
- 1 cup sugar Sweetness is key, balancing the flavors beautifully.
- 3 large eggs Adds structure to the cheesecake, giving it a perfect custard-like consistency.
- 1 teaspoon vanilla extract A splash enhances the overall flavor profile.
- 1 cup sour cream Adds tanginess and helps create that wonderfully creamy mouthfeel.
- 2 tablespoons cocoa powder Enhances the chocolate flavor without overpowering the dish.
- 1 tablespoon red food coloring The secret to that striking red hue, making it irresistible visually!
Instructions
Step-by-Step Instructions
- Preheat your oven to 325°F (160°C). Gather your baking tools: a 9-inch springform pan, mixing bowls, and a spatula.
- In a medium bowl, crush the 24 Oreo cookies until you achieve fine crumbs. Pour in the 5 tablespoons of melted butter and mix well until combined. Press this mixture firmly into the bottom of your springform pan to form the crust.
- Place the crust in your preheated oven and bake it for 10 minutes. Remove it from the oven and allow it to cool completely.
- In a large mixing bowl, beat together the 16 oz of softened cream cheese and 1 cup of sugar using an electric mixer until smooth and creamy.
- Add the 3 large eggs to the cream cheese mixture, one at a time, mixing until fully incorporated and smooth.
- Stir in 1 teaspoon of vanilla extract, 1 cup of sour cream, 2 tablespoons of cocoa powder, and 1 tablespoon of red food coloring. Mix gently until well blended.
- Carefully pour the cheesecake filling over the cooled Oreo crust, using a spatula to smooth the top evenly.
- Bake the cheesecake for about 60 minutes, until the edges are set and the center retains a gentle jiggle.
- Once baking is complete, turn off the oven and let the cheesecake cool with the door slightly ajar for about 30 minutes.
- After cooling, cover the cheesecake with plastic wrap and refrigerate for at least 4 hours or overnight.
- Before serving, uncover the cheesecake and top with whipped cream, a sprinkle of Oreo crumbs, and chocolate shavings if desired.