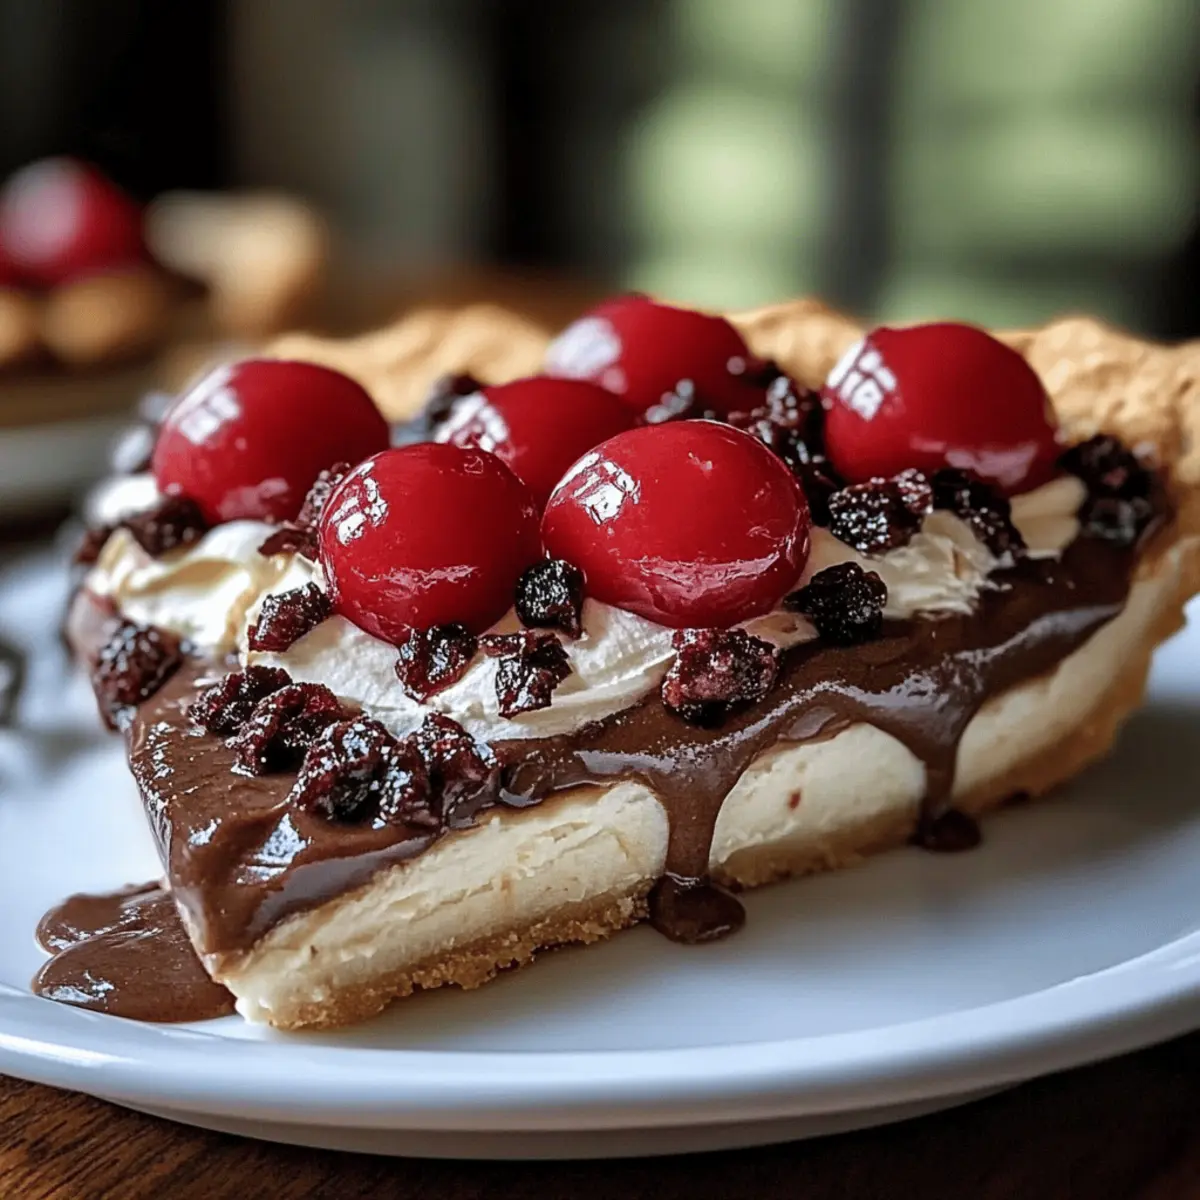
As I was whisking together the smooth and silky chocolate mousse one evening, the sweet aroma mingled perfectly with the tang of cherry filling. It struck me that there are moments when we simply need to indulge—and that’s where this Chocolate Cherry Cream Pie comes into play. Not only is this pie a visual masterpiece, but it also delivers an easy, no-bake experience that’s perfect for impressing friends and family without the fuss. In just about 25 minutes of prep, you can create a dessert that feels luxurious yet is remarkably simple. So, if you’re yearning to escape from the clutches of takeout and treat yourself to something extraordinary, keep scrolling to discover how you can make this delightful pie. What celebration can you imagine it brightening?
Why Is This Pie So Irresistible?
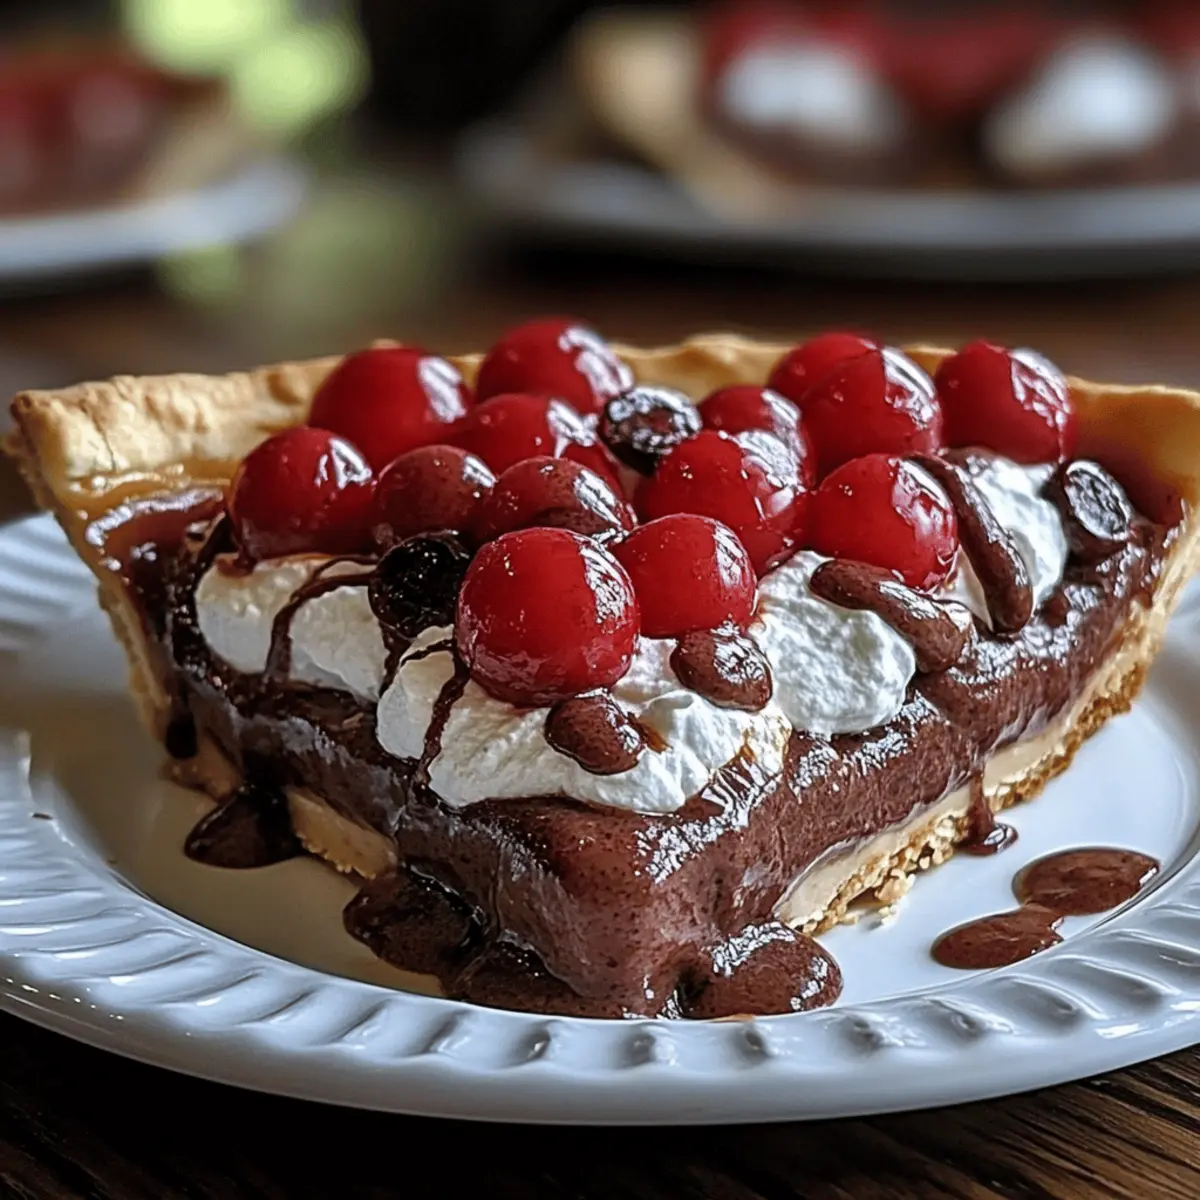
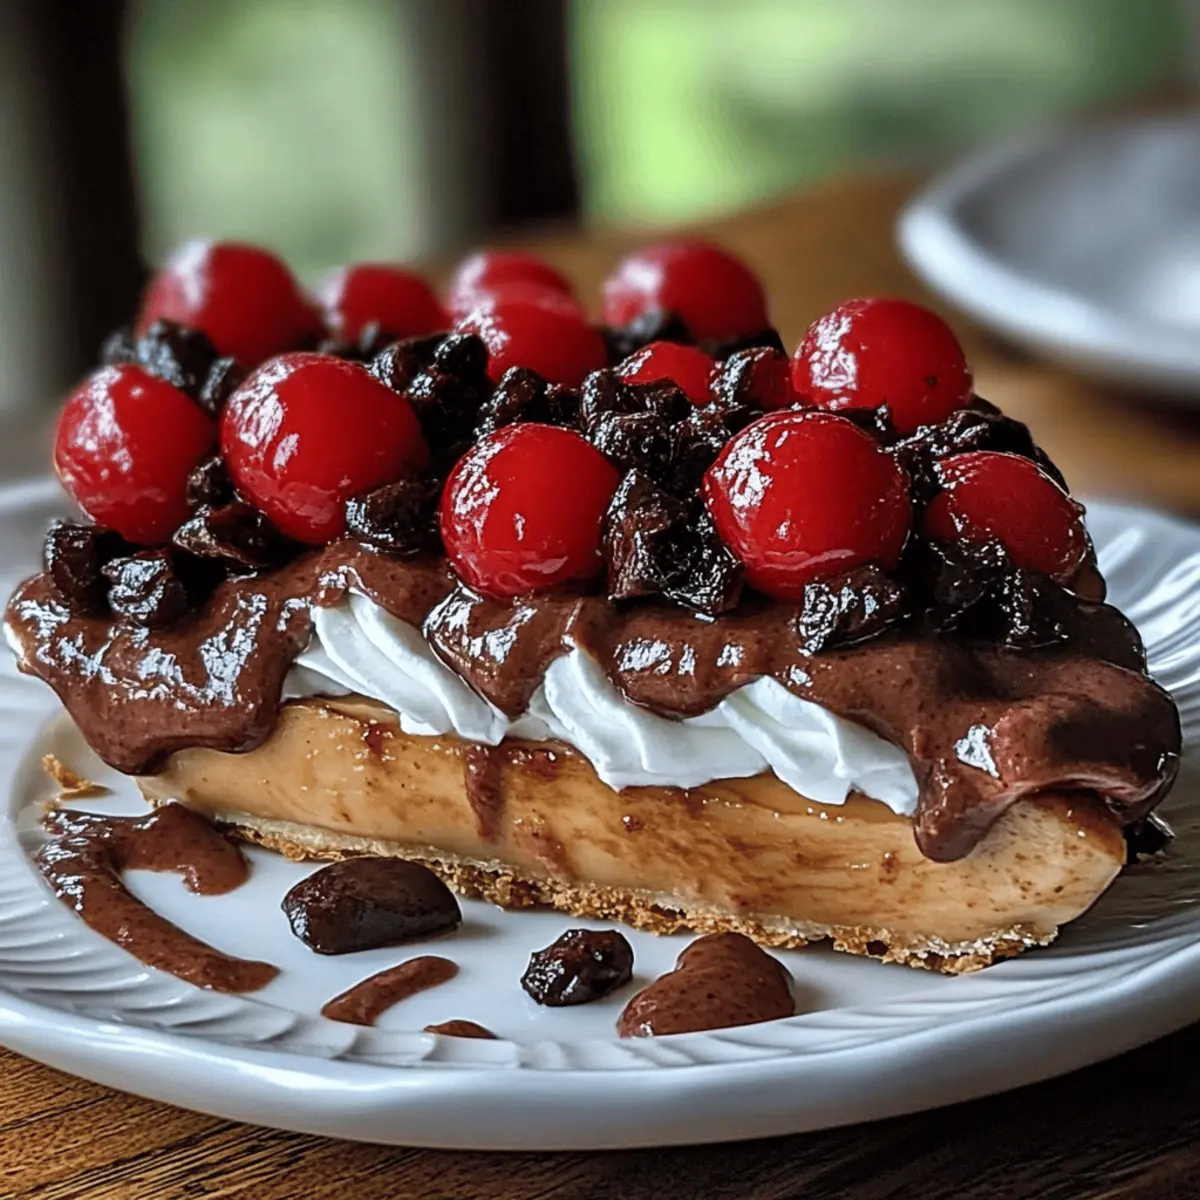
Decadent Layers: The combination of rich chocolate mousse and sweet cherry filling creates a dessert that’s both indulgent and unique.
Effortless Preparation: No baking required, making it a stress-free option for busy weeknights or last-minute gatherings.
Visual Appeal: This pie dazzles with its vibrant colors and elegant presentation, making it a showstopper at any event.
Crowd Favorite: Perfect for both kids and adults, this pie brings joy to all who take a slice.
Versatile Delight: Serve it chilled for a refreshing treat or warmed up for a comforting dessert experience—the choice is yours!
Elevate your dessert game by mastering this Chocolate Cherry Cream Pie, the ultimate indulgence that everyone will love!
Chocolate Cherry Cream Pie Ingredients
Unlock the key to making this delightful dessert with the following ingredients!
For the Mousse
- Cherry pie filling – adds a vibrant sweetness that pairs perfectly with chocolate.
- Pre-baked 9-inch pie crust – use a store-bought crust for convenience or try making your own for an extra touch!
- Heavy whipping cream (for mousse) – provides a light, fluffy texture to the chocolate layer.
- Semi-sweet chocolate, melted – delivers rich chocolate flavor; dark chocolate can be used for a deeper taste.
- Cream cheese, softened – gives the mousse a creamy base and stability.
- Powdered sugar – sweetens the mousse without adding graininess.
- Vanilla extract – enhances the chocolate flavor with a warm, aromatic touch.
For the Topping
- Heavy whipping cream (for topping) – whip until fluffy for a luscious finish.
- Powdered sugar (for topping) – adds a hint of sweetness to the whipped cream.
- Maraschino cherries – for that classic finishing touch and a pop of color.
- Chocolate curls or shavings – brings elegance and an extra chocolatey kick to your dish.
Dive into this chocolate cherry cream pie adventure and create a masterpiece that celebrates the joy of homemade desserts!
Step‑by‑Step Instructions for Chocolate Cherry Cream Pie
Step 1: Prepare the Pie Crust
Begin by baking your 9-inch pie crust according to the package instructions or your favorite recipe. Once baked, allow it to cool completely on a wire rack. The crust should be golden and firm to the touch, ready to support the luscious layers of your Chocolate Cherry Cream Pie.
Step 2: Chill the Cherry Filling
Spread the cherry pie filling evenly over the cooled crust. Make sure to distribute it all the way to the edges for optimal flavor in each bite. After spreading, place the pie in the refrigerator to chill while you prepare the chocolate mousse, about 15 minutes.
Step 3: Melt the Chocolate
In a microwave-safe bowl, melt the semi-sweet chocolate in increments of 20 seconds, stirring in between until smooth. Set the melted chocolate aside to cool slightly; it should be warm but not hot to avoid curdling the cream cheese. This melted chocolate will add rich flavor to your Chocolate Cherry Cream Pie.
Step 4: Beat the Cream Cheese
In a mixing bowl, use an electric mixer to beat the softened cream cheese until smooth and creamy, about 2 minutes. This base is crucial for a silky mousse texture. Ensure there are no lumps before proceeding to the next step to achieve a smooth consistency in your pie's filling.
Step 5: Combine Mousse Ingredients
Add the cooled melted chocolate, powdered sugar, and vanilla extract to the cream cheese. Mix well until all ingredients are fully incorporated and the mixture is rich and velvety, which should take about 1-2 minutes. This chocolate mixture is the star ingredient for your Chocolate Cherry Cream Pie.
Step 6: Whip the Heavy Cream
In a separate bowl, whip 1 cup of heavy whipping cream using an electric mixer until stiff peaks form, which should take about 3-4 minutes. This fluffy cream will lighten the chocolate mixture, making it airy. Check that the cream holds peaks firmly before folding it into the chocolate mixture.
Step 7: Fold the Whipped Cream
Gently fold the whipped cream into the chocolate mixture using a spatula, taking care to maintain the airy texture. Use a sweeping motion to combine until no white streaks remain, creating a light and fluffy chocolate mousse. This mousse layer will crown your tart cherry filling beautifully.
Step 8: Assemble the Pie
Once the chocolate mousse is smooth and fully combined, pour it over the chilling layer of cherry pie filling. Spread it evenly with a spatula, ensuring a seamless blend of flavors in your Chocolate Cherry Cream Pie. Cover the pie with plastic wrap and refrigerate for at least 2 hours to set.
Step 9: Prepare the Topping
Before serving, whip the remaining 1 cup of heavy whipping cream with 2 tablespoons of powdered sugar until soft peaks form, which should take around 3-4 minutes. The sweetened whipped cream will create a luxurious topping that brings everything together in your dessert masterpiece.
Step 10: Decorate the Pie
Once the mousse has set, carefully spread the whipped cream over the chocolate layer, creating a smooth, fluffy top. You can create swirls or peaks for extra flair. This makes your Chocolate Cherry Cream Pie visually stunning and ready for the final touches.
Step 11: Add the Finishing Touches
Decorate the top with maraschino cherries and sprinkle chocolate curls or shavings for an elegant presentation. The bright cherries add a pop of color, while the chocolate curls enhance the overall chocolate experience of the pie.
Step 12: Chill and Serve
Allow the pie to chill for one more hour before slicing. This final step ensures all the layers meld beautifully. When ready to serve, slice the pie with a warm knife for clean cuts, allowing all the delicious layers of cherry and chocolate to shine.
What to Serve with Chocolate Cherry Cream Pie?
Treat your family and friends to an unforgettable meal that complements the luxurious flavors of this delightful pie.
- Creamy Mashed Potatoes: These smooth potatoes add a comforting, buttery texture that balances the dessert’s richness.
- Grilled Chicken Salad: With fresh greens and a tangy vinaigrette, this salad provides a refreshing contrast to the pie's sweetness.
- Roasted Vegetables: Mixed seasonal veggies bring a savory note, enhancing the pie’s flavors in a delightful medley of tastes.
- Chocolate-Based Wine: Pair your pie with a glass of sweet dessert wine that echoes the chocolate in your pie, making each bite a treat.
- Coffee or Espresso: The bold flavors of coffee serve as a perfect palate cleanser, enhancing the sweetness of the cherry and chocolate.
- Vanilla Ice Cream: A scoop of smooth vanilla ice cream adds a classic touch, creating a delightful combination when served alongside each slice.
- Lemon Sorbet: This light dessert offers a refreshing, citrusy contrast that helps brighten the overall meal experience.
- Fresh Berries: A side of mixed berries introduces a tart and juicy element, making each bite of pie even more vibrant.
- Chocolate Drizzle: Drizzle warm chocolate sauce over the pie for an extra-rich touch that chocolate lovers will adore.
Chocolate Cherry Cream Pie Variations
Feel free to explore these delicious variations that will personalize your pie experience!
- Dairy-Free: Substitute heavy cream with coconut cream and use dairy-free chocolate for a creamy, dairy-free twist.
- Nutty Flavor: Add crushed almonds or hazelnuts to the chocolate mousse for a delightful crunch and nutty aroma. The added texture pairs beautifully with the soft layers.
- Fruit Boost: Mix in fresh raspberries or blueberries along with the cherry filling for a burst of flavor and color—perfect for berry lovers!
- Minty Twist: Incorporate 1 teaspoon of peppermint extract into the chocolate mixture for a refreshing mint chocolate flavor. This invigorating touch adds a delightful surprise.
- Extra Indulgence: Drizzle caramel sauce over the mousse layer before adding the whipped cream for a luxurious caramel chocolate cherry pie experience that feels divine.
- Spicy Kick: Add a pinch of cayenne pepper to the chocolate for a surprising heat that elevates the flavors—a perfect surprise for adventurous eaters!
- Low-Sugar Option: Use a sugar substitute in place of powdered sugar to create a sugar-friendly version that still satisfies your sweet tooth.
- Gourmet Presentation: Swap out maraschino cherries for candied cherries or fresh cherries for a more upscale look and taste that’s perfect for special occasions.
Tips for the Best Chocolate Cherry Cream Pie
Chill Time Matters: Allow sufficient chilling time for the mousse to set properly; this enhances the flavors and improves texture in your Chocolate Cherry Cream Pie.
Avoid Overmixing: When folding the whipped cream into the chocolate mixture, be gentle. Overmixing can deflate the airy texture and make the mousse heavy.
Use Quality Ingredients: Opt for high-quality chocolate and fresh cherries. Good ingredients elevate the entire dessert, making it memorable for your guests.
Slice with Care: To cut clean slices, use a warm, damp knife. This prevents the mousse from sticking and keeps your serving neat and appealing.
Presentation Counts: Take time to decorate with maraschino cherries and chocolate curls. A beautiful presentation makes your dessert irresistible and festive!
Make Ahead Options
These Chocolate Cherry Cream Pies are perfect for busy home cooks looking to save time! You can prep the pie crust and cherry filling up to 24 hours in advance and store them wrapped in the fridge to maintain their freshness. The chocolate mousse can also be made 1-2 days ahead; simply refrigerate it, covered, until you’re ready to assemble. When you're set to serve, just whip the additional heavy cream and layer it on top, garnish with maraschino cherries and chocolate curls, and allow the pie to chill for another hour. Following these steps will keep your Chocolate Cherry Cream Pie just as delicious and ready to impress your guests!
How to Store and Freeze Chocolate Cherry Cream Pie
Fridge: Store any leftover pie in the refrigerator for up to 3 days. Cover it with plastic wrap to keep it fresh and prevent it from absorbing odors.
Freezer: For longer storage, you can freeze the pie for up to 1 month. Make sure to wrap it tightly in plastic wrap and then in aluminum foil to prevent freezer burn.
Thawing: When ready to enjoy, transfer the pie to the refrigerator to thaw overnight. Avoid thawing at room temperature to maintain the texture of the mousse and cherry filling.
Serving After Freezing: Once thawed, add fresh whipped cream and maraschino cherries for a delightful touch, bringing back that beautiful presentation of your Chocolate Cherry Cream Pie!
Chocolate Cherry Cream Pie Recipe FAQs
What type of cherries are best for cherry pie filling?
Absolutely! For the best flavor, look for dark sweet cherries that are firm and ripe. These provide a natural sweetness and vibrant color. If you're making your own filling, fresh or frozen tart cherries work beautifully too!
How long can I store leftover Chocolate Cherry Cream Pie in the fridge?
You can store any leftover pie in the refrigerator for up to 3 days. Just be sure to cover it well with plastic wrap to keep it fresh and to prevent it from picking up any odors from your fridge.
Can I freeze my Chocolate Cherry Cream Pie?
Very! You can freeze the pie for up to 1 month. To do so, tightly wrap it in plastic wrap and then in aluminum foil. This double-wrapping will help prevent freezer burn and keep the flavors intact. Just make sure to thaw it in the fridge overnight before serving.
What should I do if my mousse doesn’t set properly?
No worries! If your mousse doesn’t set, it could be due to overmixing the whipped cream or not chilling long enough. To troubleshoot, return the pie to the refrigerator and allow it to chill for another hour or two. For a quicker fix, you can whip up another ½ cup of heavy cream until stiff peaks form and gently fold it into the mousse layer.
Is this pie suitable for those with dairy allergies?
While the Chocolate Cherry Cream Pie contains dairy, you can make it dairy-free by using non-dairy cream cheese and coconut or almond milk whipped topping. Just ensure all your ingredients match your dietary needs while keeping the flavor delightful!
Can I make this pie ahead of time?
Absolutely! This pie can be made 1 to 2 days in advance. Prepare all the layers, but wait to add the final whipped cream topping and decorations until the day of serving. This ensures your pie looks fresh and beautiful!

Indulge in Decadent Chocolate Cherry Cream Pie Delight
Equipment
- mixing bowl
- electric mixer
- microwave-safe bowl
- spatula
- Plastic wrap
- whisk
Ingredients
For the Mousse
- 1 can Cherry pie filling
- 1 9-inch Pre-baked pie crust store-bought or homemade
- 1 cup Heavy whipping cream for mousse
- 8 ounces Semi-sweet chocolate, melted or dark chocolate for a deeper taste
- 8 ounces Cream cheese, softened
- ½ cup Powdered sugar
- 1 teaspoon Vanilla extract
For the Topping
- 1 cup Heavy whipping cream for topping
- 2 tablespoons Powdered sugar for topping
- 1 jar Maraschino cherries
- 1 cup Chocolate curls or shavings for decoration
Instructions
Preparation Steps
- Prepare the Pie Crust by baking according to package instructions and allowing it to cool completely.
- Chill the Cherry Filling by spreading it evenly over the cooled crust and refrigerating for 15 minutes.
- Melt the Chocolate in a microwave-safe bowl in increments of 20 seconds, then allow to cool slightly.
- Beat the Cream Cheese until smooth and creamy, about 2 minutes.
- Combine Mousse Ingredients by adding melted chocolate, powdered sugar, and vanilla to cream cheese; mix until incorporated.
- Whip the Heavy Cream using an electric mixer until stiff peaks form, taking 3-4 minutes.
- Fold the Whipped Cream into the chocolate mixture gently, ensuring no white streaks remain.
- Assemble the Pie by pouring the mousse over the cherry filling, ensuring an even spread; refrigerate for at least 2 hours.
- Prepare the Topping by whipping the remaining heavy cream with powdered sugar until soft peaks form.
- Decorate the Pie by spreading the whipped cream on top, creating swirls or peaks.
- Add the Finishing Touches with maraschino cherries and chocolate curls or shavings for decoration.
- Chill and Serve by allowing the pie to chill for one more hour before slicing.