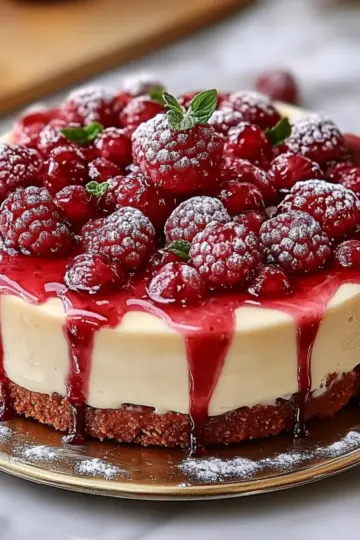
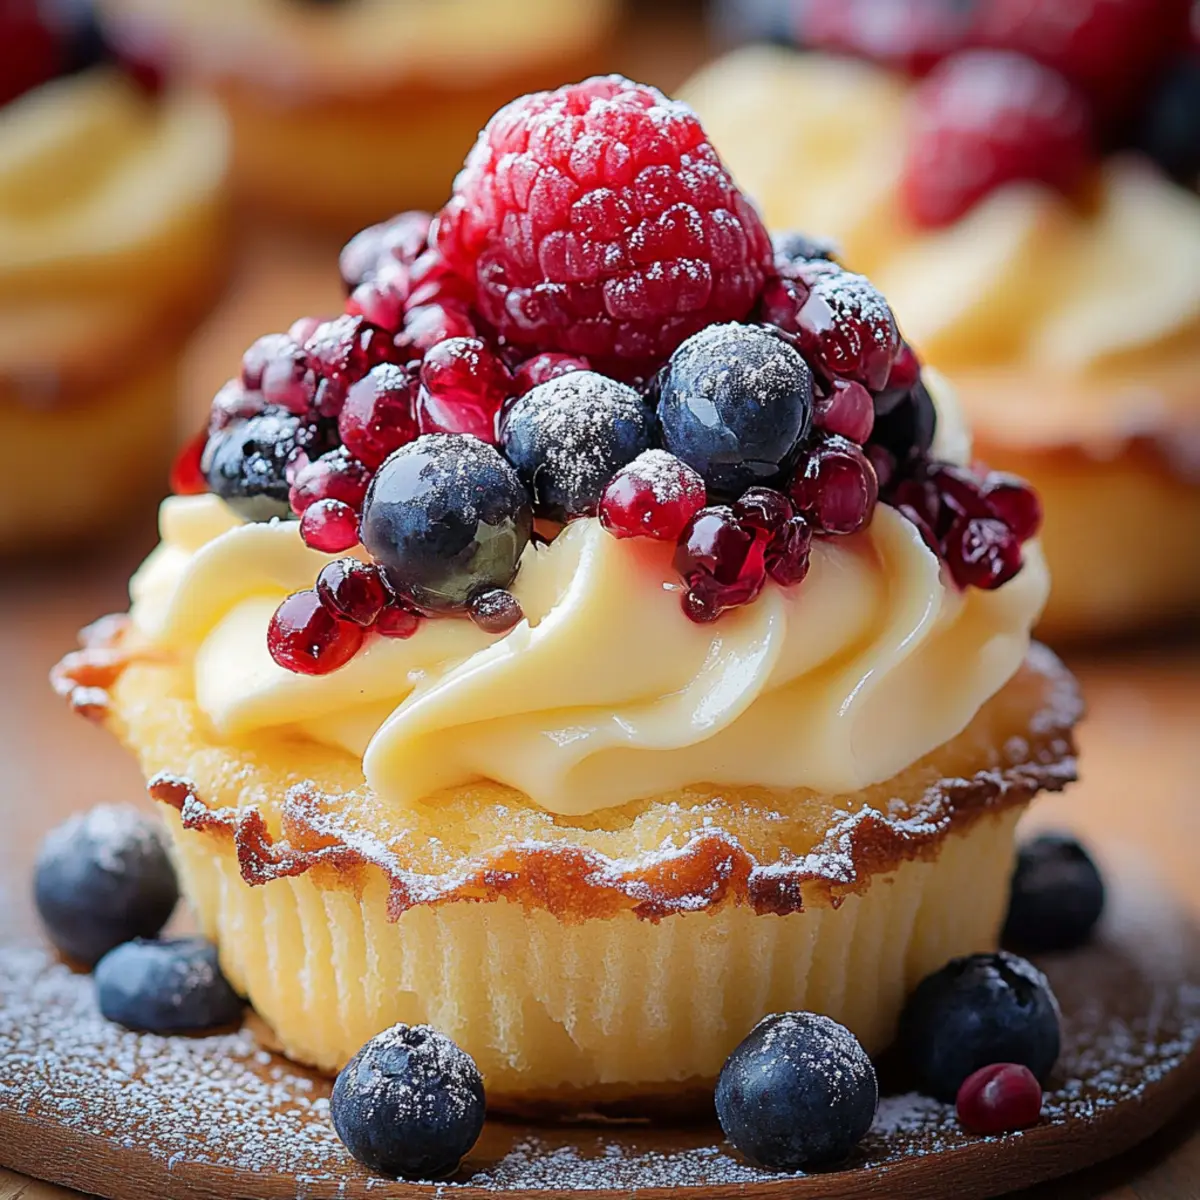
Something magical happens when you combine simple ingredients to create a little piece of heaven. These Mini Cheesecakes are not only a delightful addition to any gathering but also surprisingly easy to whip up in your own kitchen. With a prep time of just 15 minutes, this recipe is perfect for those who desire a homemade dessert without spending hours in the kitchen. Plus, they’re freezer-friendly, meaning you can enjoy these creamy bites anytime a sweet craving hits. Each individually-sized cheesecake boasts a rich cream cheese filling with a hint of tanginess and is topped with luscious whipped cream and fresh berries for that extra flair. Have you ever wondered how such sophisticated treats can come from your oven? Let's dive in and make your dessert dreams a reality!

Why Are Mini Cheesecakes So Irresistible?
Bite-Sized Delight: With their perfect portioning, Mini Cheesecakes make indulgence easy; just grab one and savor the goodness!
Effortless Preparation: This recipe requires minimal skills, letting you whip up these treats in no time, ensuring zero stress in the kitchen.
Flavorful Layers: The creamy, tangy filling paired with a buttery crust delivers an explosion of flavor that will have your guests asking for seconds.
Versatile Toppings: Dress them up however you like – fresh fruits, chocolate drizzle, or a sprinkle of nuts add personality to each cheesecake.
Party-Ready Crowd Pleaser: These mini delights are not only adorable but are sure to charm everyone at your next gathering. Enjoy the magic of homemade treats!
Mini Cheesecakes Ingredients
Crafting these delightful Mini Cheesecakes is a breeze with the right ingredients. Here’s what you’ll need:
For the Crust
- Digestive biscuits – a buttery base that brings a delightful crunch; graham crackers are a tasty alternative.
- Unsalted butter – binds the crust together; melted for easier mixing.
- Caster sugar – adds just the right sweetness to the crust.
- Cinnamon powder (optional) – a pinch enhances the flavor and warmth of the crust.
- Pinch of salt – balances the sweetness, making each bite more flavorful.
For the Filling
- Cream cheese – creamy and tangy for that classic cheesecake flavor; use block cream cheese for best results.
- Plain flour – helps set the filling, ensuring a smooth texture.
- Vanilla extract – infuses richness and depth into the filling.
- Sour cream (or plain yogurt) – adds creaminess; both options contribute a slight tang.
- Caster sugar – ensures the filling is sweet without graininess.
- Lemon zest – a burst of freshness that brightens up the cheesecake.
- Pinch of salt – enhances all the flavors in the filling.
- Large eggs – at room temperature, they incorporate better for a smooth filling.
For the Topping
- Thickened or heavy cream – whipped to fluffy perfection; adds a light and airy finish.
- Vanilla extract – adds a lovely aroma and flavor to the whipped cream.
- Icing sugar (sifted) or caster sugar – sweetens the cream for a delightful topping.
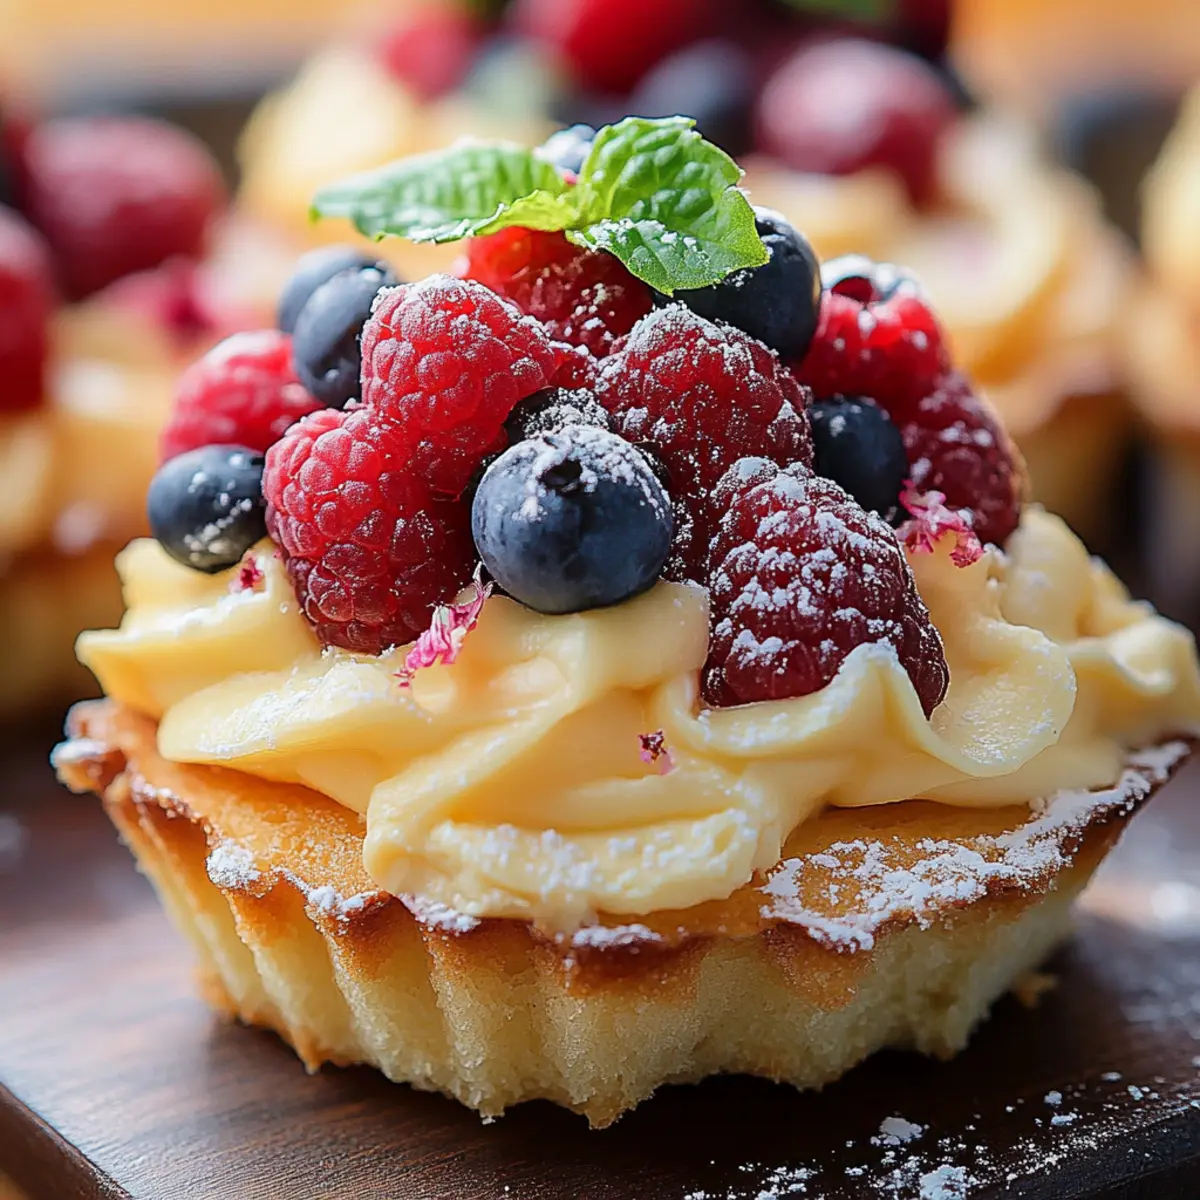
- Optional Decorations – strawberries, blueberries, raspberries, mint sprigs, and icing sugar for dusting add a gorgeous touch!
Gather these ingredients, and you'll be on your way to creating the most delightful Mini Cheesecakes that will leave everyone wanting more!
Step‑by‑Step Instructions for Mini Cheesecakes
Step 1: Preheat the Oven
Begin by preheating your oven to 160°C (325°F) or 140°C if using a fan oven. While the oven is warming up, line a standard 12-hole muffin tin with paper liners. This will ensure your Mini Cheesecakes come out easily, leaving a beautiful presentation for each delightful treat.
Step 2: Prepare the Crust
Crush 150g of digestive biscuits into fine crumbs using a food processor or by placing them in a ziplock bag and rolling them with a rolling pin. In a mixing bowl, combine the crumbs with 60g of melted unsalted butter, 1 tablespoon of caster sugar, a pinch of salt, and a dash of cinnamon if desired. Mix until the texture resembles damp sand, ensuring everything is well-combined.
Step 3: Form the Crusts
Divide the crumb mixture evenly among the lined muffin cups, pressing down firmly with the back of a spoon or your fingers to create a compact base. This helps to form a sturdy crust for each Mini Cheesecake. Bake the crusts in the preheated oven for about 7 minutes, then allow them to cool for 5 minutes before adding the filling.
Step 4: Mix the Filling
In a separate mixing bowl, beat 375g of room-temperature cream cheese until it becomes smooth and creamy. Gradually add 1 ½ tablespoons of plain flour, 1 teaspoon of vanilla extract, ½ cup of sour cream, and ½ cup of caster sugar. Blend these ingredients together alongside 1 ½ teaspoons of lemon zest and another pinch of salt, mixing until well combined and fluffy.
Step 5: Add the Eggs
To the creamy mixture, add 2 large eggs, one at a time, mixing gently after each addition until just incorporated. Be careful not to overmix the batter; it should remain thick and smooth, similar to pancake batter. This will ensure your Mini Cheesecakes have a rich, creamy texture.
Step 6: Fill the Muffin Cups
Carefully divide the cheesecake filling among the cooled crusts, filling each muffin cup nearly to the top. This allows the filling to rise slightly as it bakes while still maintaining individual portions. Place the filled muffin tin back in the oven and bake for approximately 20 minutes, or until the cheesecakes are just set in the center.
Step 7: Cool the Cheesecakes
Once baked, remove the muffin tin from the oven and let the cheesecakes cool in the tins at room temperature for an hour. After they have cooled, cover them with parchment and cling wrap, and chill in the refrigerator for at least 6 hours or overnight to allow the flavors to meld and the texture to firm up.
Step 8: Prepare the Topping
Before serving your Mini Cheesecakes, whip 1 ½ cups of thickened cream with 2 tablespoons of icing sugar and ½ teaspoon of vanilla extract until thick and fluffy. This will create a luscious topping that complements the creamy filling perfectly.
Step 9: Garnish and Serve
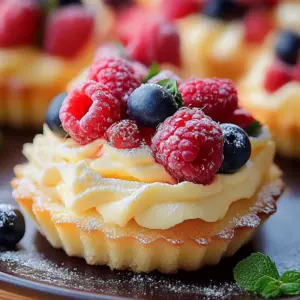
Pipe or dollop the freshly whipped cream atop each cheesecake, letting it cascade elegantly to create a beautiful finish. Feel free to garnish with fresh berries, mint sprigs, and a dusting of icing sugar for an added touch of sweetness and color. Enjoy your delightful Mini Cheesecakes!
Make Ahead Options
These Mini Cheesecakes are ideal for meal prep, allowing you to enjoy delicious desserts even on your busiest days! You can prepare the crust and filling up to 24 hours ahead of time. To do this, make the crust and press it into the muffin tins, then bake and cool. Prepare the filling and pour it over the crusts, then cover tightly and refrigerate until you're ready to bake. This method ensures they'll be just as delightful when baked later. When you’re ready to enjoy, bake as instructed, chill for at least 6 hours, and top with whipped cream and fresh berries just before serving. This way, you streamline your dessert-making process while maintaining that fresh, homemade taste!
Mini Cheesecakes Variations & Substitutions
Feel free to get creative with these Mini Cheesecakes! Each variation will elevate your dessert experience and satisfy diverse cravings.
-
Gluten-Free: Substitute digestive biscuits with gluten-free cookie crumbs or almond flour combined with melted butter.
-
Vegan: Replace cream cheese with cashew cream and use plant-based yogurt and vegan cream for the topping.
-
Chocolatey Twist: Swirl in melted dark chocolate into the cheesecake filling for a rich chocolate flavor that’s irresistible.
-
Fruit-Infused: Add pureed fruits like strawberries or mangoes directly into the filling for a vibrant and fruity flavor explosion.
-
Nutty Crunch: Incorporate chopped nuts like pecans or almonds into the crust for an added crunch that complements the creaminess.
-
Spicy Kick: Mix in a dash of cayenne or chili powder into the filling for a surprising heat that pairs perfectly with sweet toppings.
-
Caramel Swirl: Drizzle caramel sauce over the top before serving for a luxurious, sweet touch that visitors will rave about.
-
Lemon-Lime Zest: Use a combination of lemon and lime zest in the filling for a zesty and bright flavor that dances on your palate.
With these variations, your Mini Cheesecakes will stay exciting and cater to all taste preferences. Happy baking!
How to Store and Freeze Mini Cheesecakes
Fridge: Store your Mini Cheesecakes in an airtight container for up to 3 days for optimal freshness. Allow them to chill completely before sealing to prevent moisture buildup.
Freezer: For longer storage, freeze the cheesecakes unwrapped on a baking sheet until solid; then transfer to a freezer-safe container. They can be stored for up to 3 months.
Reheating: To enjoy your frozen cheesecakes, transfer them to the fridge to thaw overnight. Once thawed, top with whipped cream and fresh berries before serving for that fresh-out-of-the-oven taste.
Serving Suggestions: Serve your cheesecakes cold, or let them sit at room temperature for about 15 minutes for a softer texture before indulging in their creamy goodness.
Expert Tips for Mini Cheesecakes
Perfect Crust: Use room temperature butter for an easier blend with the crumbs, ensuring a well-formed crust that holds together beautifully.
Don’t Overmix: When adding eggs, mix just until incorporated. Overmixing can introduce excess air, leading to cracks in your Mini Cheesecakes.
Cool Gradually: Allow the cheesecakes to cool in the tin before transferring them to the fridge. This helps prevent them from sinking and creates a perfect texture.
Chill Time: For best flavor and texture, chill the cheesecakes overnight. This step enhances both the creaminess and the sweet-tart balance of the filling.
Decorate with Care: When topping, use fresh fruits that complement the flavor of your cheesecakes, like strawberries or blueberries, for visual appeal and freshness.
What to Serve with Mini Cheesecakes?
There's something undeniably charming about crafting a full meal that perfectly complements these delightful treats.
-
Fresh Fruit Salad: A vibrant mix of seasonal berries and citrus adds a refreshing contrast to the creamy cheesecakes, balancing richness with zing.
-
Chocolate Drizzle: A warm chocolate sauce drizzled over the mini cheesecakes brings an indulgent touch that elevates each bite to new heights of sweetness.
-
Minty Lemonade: A chilled glass of mint-infused lemonade acts as a palate cleanser, cutting through the richness and enhancing the flavors of your dessert.
-
Caramel Sauce: The sweet, buttery notes of rich caramel sauce drizzled atop each cheesecake create a luscious, decadent experience worth savoring.
-
Coffee or Espresso: Serving a robust cup of coffee alongside these mini cheesecakes elevates your dessert, creating a beautifully balanced end to your meal.
-
Whipped Cream Topping: Adding a dollop of fresh whipped cream on the side lets guests enjoy extra creaminess, creating a delightful texture contrast.
You could even pair them with a simple chocolate cake for those who truly seek indulgence. Each element works in harmony, turning your dessert into a memorable finish to any occasion!
Mini Cheesecakes Recipe FAQs
How do I choose ripe berries for topping?
Absolutely! When selecting berries, look for vibrant colors and smooth skin. Ripe strawberries should be bright red with a sweet aroma, while blueberries should be plump and firm. Avoid berries with dark spots or mushiness, as these can indicate overripeness. If you can, support local farms for the freshest options!
How should I store leftover Mini Cheesecakes?
You can store your Mini Cheesecakes in an airtight container in the fridge for up to 3 days. Make sure they have cooled completely before sealing to avoid any moisture buildup, which can affect their creamy texture.
Can I freeze Mini Cheesecakes?
Absolutely! To freeze, allow the cheesecakes to chill completely, then place them on a baking sheet to freeze individually without wrapping. Once solid, transfer them to a freezer-safe container or ziplock bag, where they can be stored for up to 3 months. When you're ready to enjoy, let them thaw in the fridge overnight and top them with whipped cream and berries before serving.
What if my cheesecakes crack while baking?
Very common! If you notice cracks, reduce your oven temperature a bit and avoid overmixing your batter; this can introduce air bubbles. Additionally, be sure to let the cheesecakes cool gradually in the tin – moving them to the fridge too soon can also cause cracks. Remember, perfection is in the taste, not always in the looks!
Are Mini Cheesecakes okay for people with allergies?
Be cautious! Since they contain dairy and eggs, they may not be suitable for those with allergies or lactose intolerance. For a dairy-free version, consider using plant-based cream cheese and yogurt. Always check ingredient labels to ensure they're allergy-friendly, and consult with a healthcare provider if necessary.
How long should I chill the cheesecakes?
For the best flavor and texture, I recommend chilling your Mini Cheesecakes for at least 6 hours or overnight. This allows the flavors to meld beautifully and ensures a silky, creamy texture that's simply irresistible!
Indulgent Mini Cheesecakes: A Sweet Treat You'll Love
Equipment
- Oven
- muffin tin
- mixing bowls
- food processor
- whisk
Ingredients
Crust
- 150 g digestive biscuits or graham crackers
- 60 g unsalted butter melted
- 1 tablespoon caster sugar
- cinnamon powder optional
- 1 pinch salt
Filling
- 375 g cream cheese room temperature
- 1.5 tablespoon plain flour
- 1 teaspoon vanilla extract
- 120 ml sour cream or plain yogurt
- 100 g caster sugar
- 1.5 teaspoon lemon zest
- 1 pinch salt
- 2 large eggs room temperature
Topping
- 360 ml thickened or heavy cream
- 2 tablespoon icing sugar sifted
- 0.5 teaspoon vanilla extract
- optional decorations fresh strawberries, blueberries, raspberries, mint sprigs, icing sugar for dusting
Instructions
Preparation Instructions
- Preheat your oven to 160°C (325°F) or 140°C for a fan oven. Line a 12-hole muffin tin with paper liners.
- Crush the digestive biscuits into fine crumbs. Combine with melted butter, caster sugar, salt, and cinnamon in a mixing bowl.
- Divide the crumb mixture among the muffin cups, pressing down to form a compact base. Bake for 7 minutes and allow to cool for 5 minutes.
- Beat the cream cheese until smooth, then gradually add flour, vanilla extract, sour cream, and caster sugar. Blend until fluffy.
- Add eggs one at a time, mixing gently until just incorporated. Do not overmix.
- Divide the cheesecake filling among the cooled crusts. Bake for 20 minutes until just set in the center.
- Cool the cheesecakes in the tin at room temperature for an hour, then chill in the refrigerator for at least 6 hours or overnight.
- Whip the thickened cream with icing sugar and vanilla extract until thick and fluffy.
- Pipe or dollop whipped cream onto each cheesecake and garnish with fresh berries and mint sprigs.