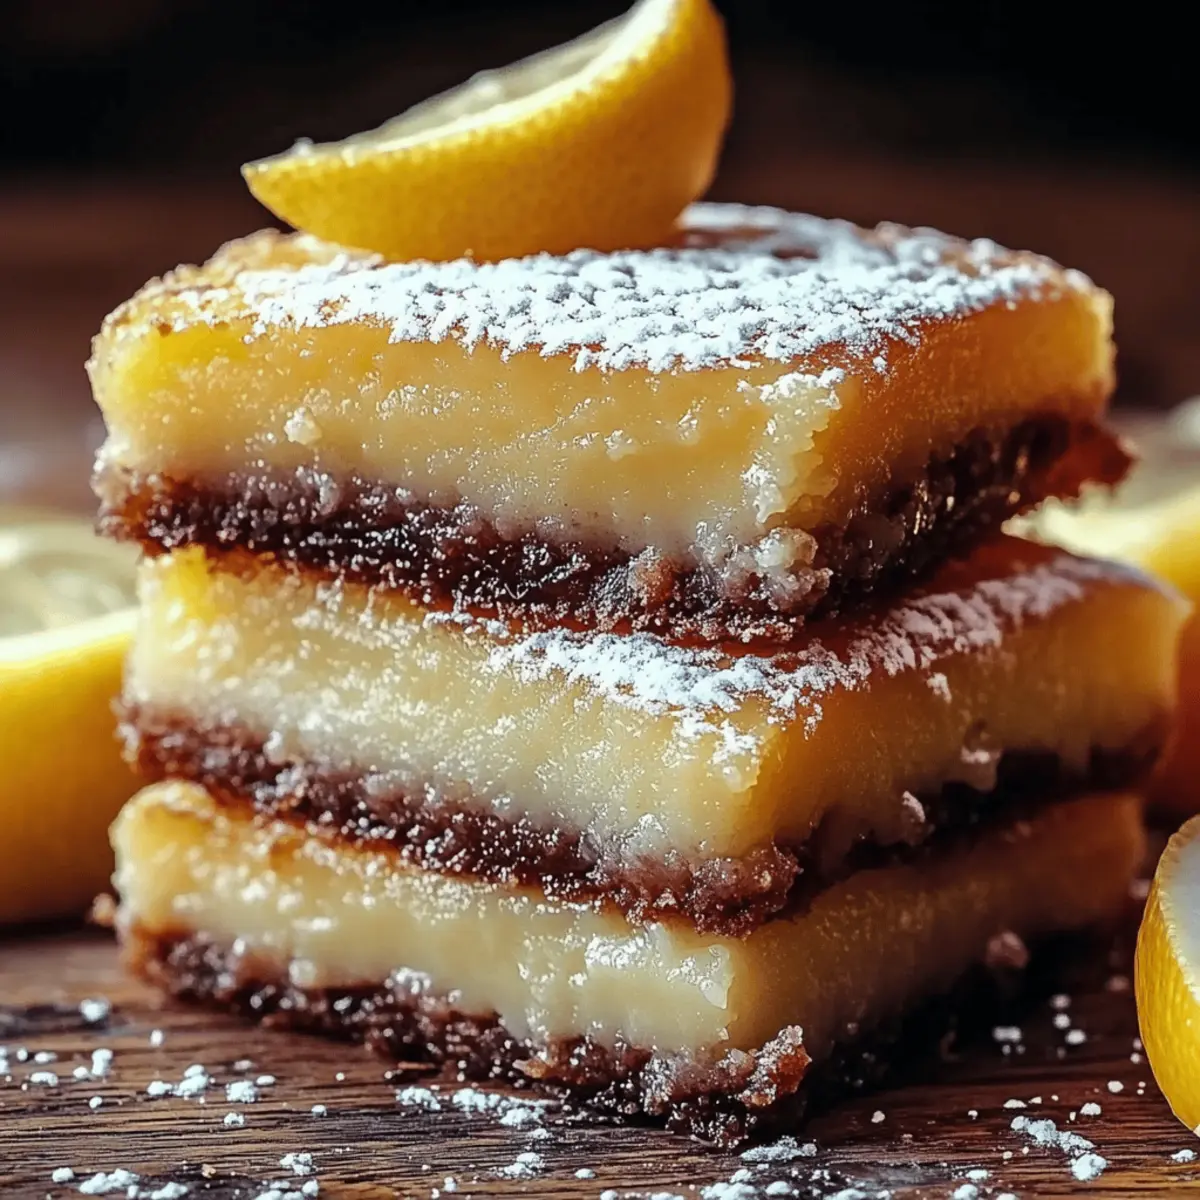
With a quick stir of buttery goodness and zesty freshness, I found myself in the mood for something light and uplifting. Enter these Lemon Brownie Bars—a delightful treat that blends the richness of a brownie with the refreshing zing of lemon. One of my favorite perks about these bars is how easily they come together; with just 10 minutes of prep and a mere 25 minutes in the oven, you’ll have a delicious dessert ready to enjoy without breaking a sweat! Plus, they make for an irresistible crowd-pleaser at gatherings, bringing a burst of sunshine to any table. Are you ready to brighten your day with a slice of citrus happiness? Let’s dive into this simple recipe!
Why Are Lemon Brownie Bars So Incredible?
Simplicity is key: With just 10 minutes of prep time, you’ll spend less time in the kitchen and more time enjoying this refreshing treat.
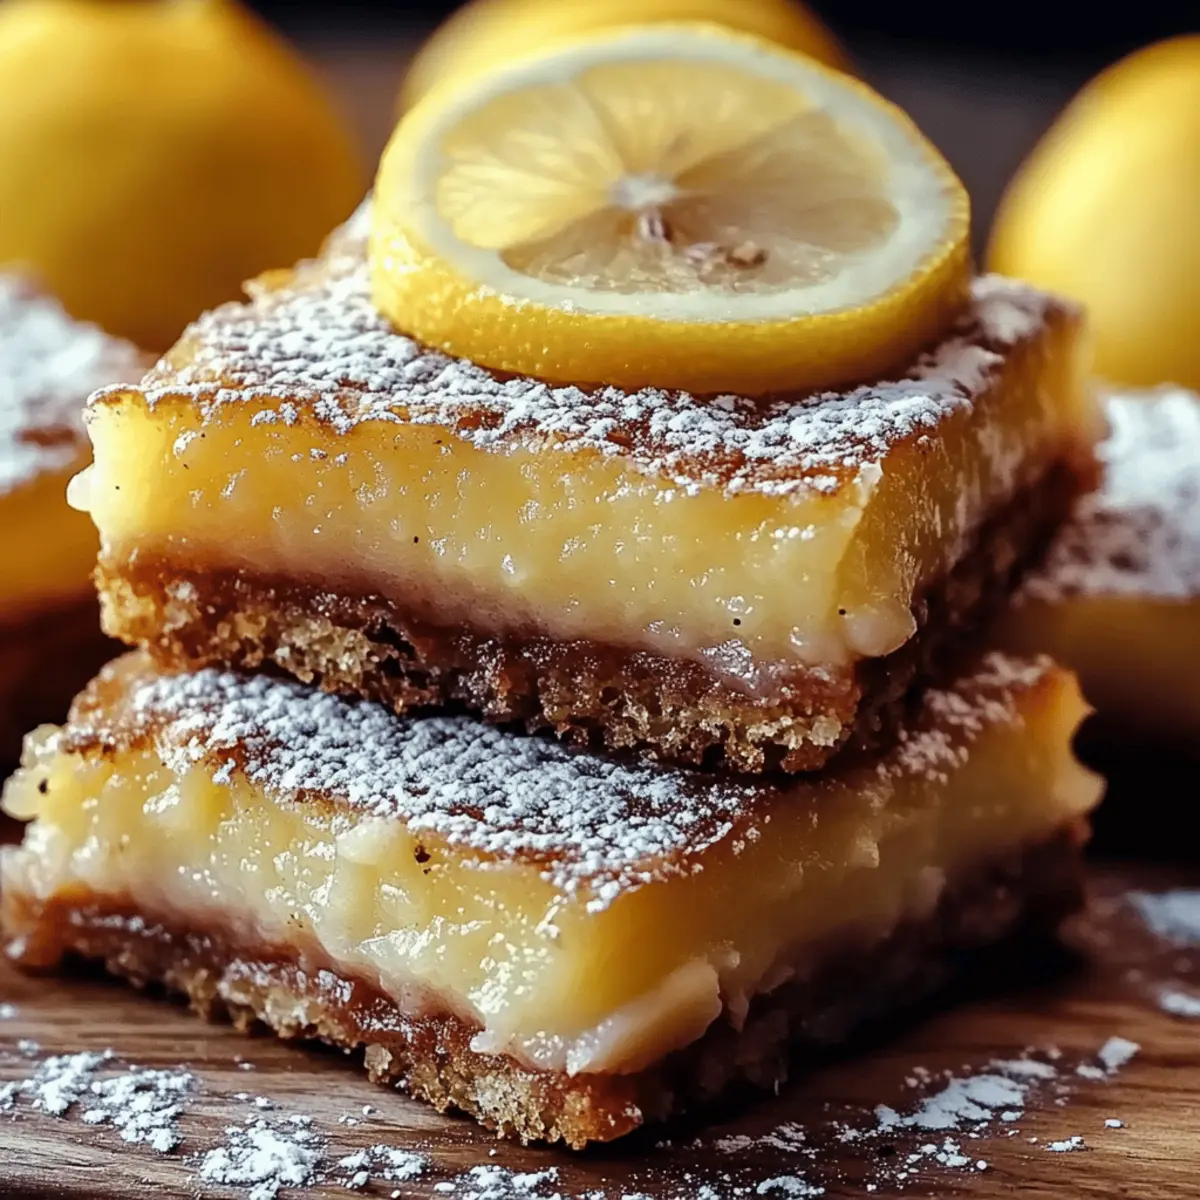
Zesty Flavor: The combination of fresh lemon juice and zest adds a delightful brightness that elevates the classic brownie experience.
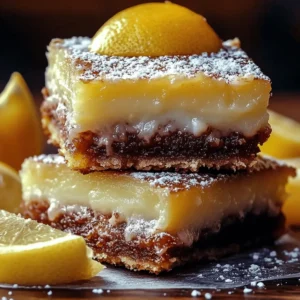
Perfect Texture: These bars strike an exquisite balance between fudgy moisture and a light, cake-like crumb.
Crowd-Pleaser: They’re easy to share and guaranteed to impress your friends and family at any gathering.
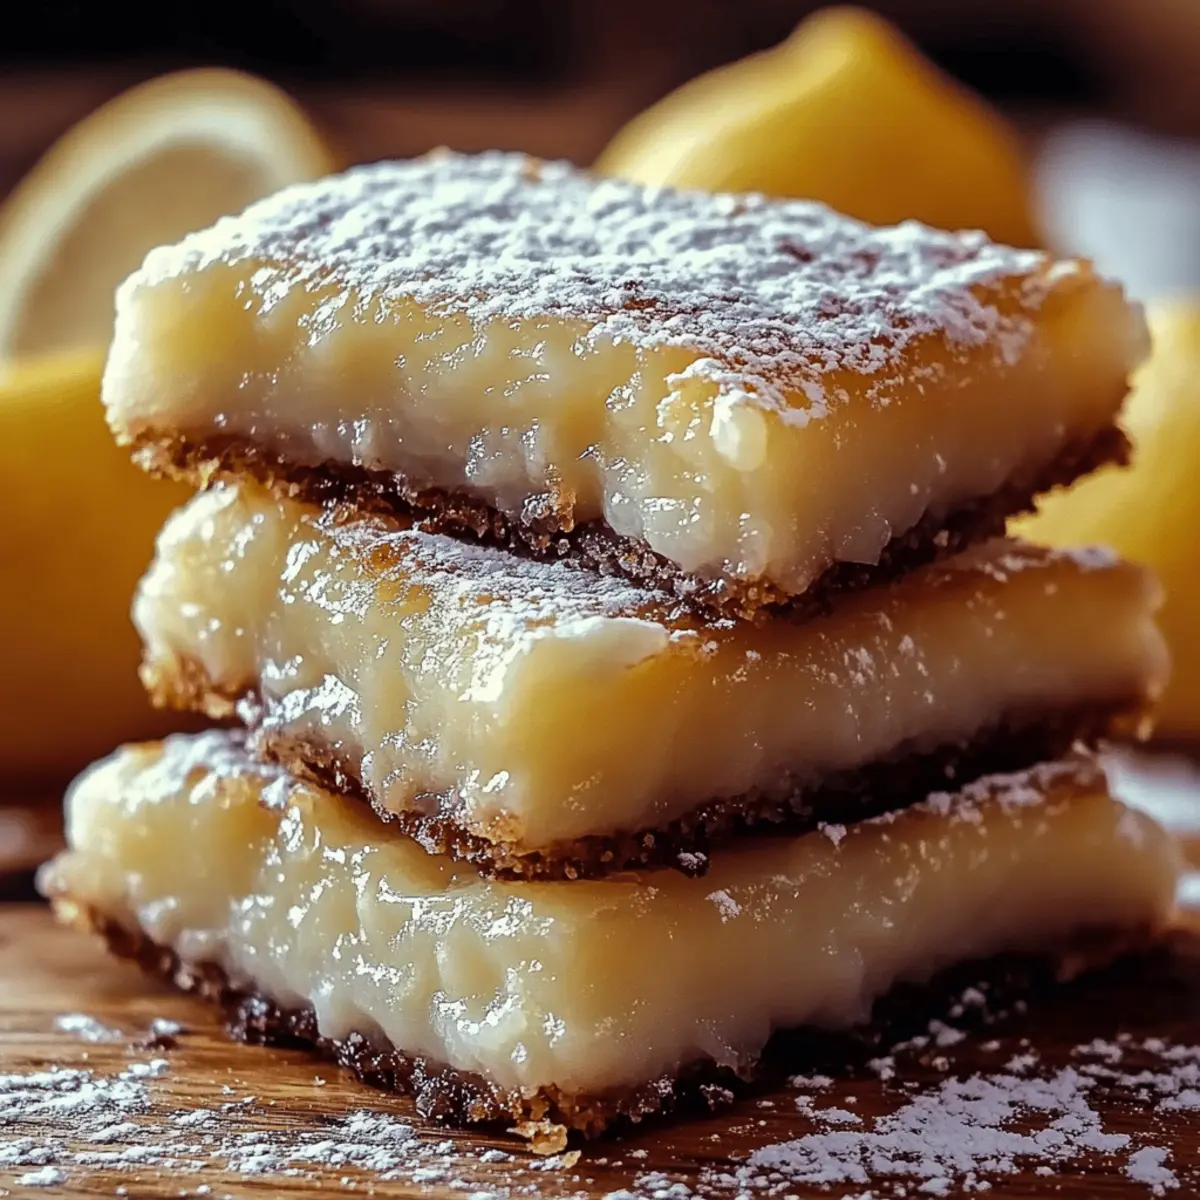
Versatile Delight: Serve them warm or chilled, plain or with a dusting of powdered sugar—this recipe caters to every mood!
Why not indulge in these Lemon Brownie Bars for your next dessert? Enjoy the happy dance of flavors that will leave everyone smiling!
Lemon Brownie Bars Ingredients
• Get ready for a zesty treat!
For the Brownies
- Unsalted butter – this adds a rich, creamy base that enhances the overall flavor of the Lemon Brownie Bars.
- Granulated sugar – balances the tartness of the lemons perfectly.
- Large eggs – contribute richness and help bind the ingredients together.
- Fresh lemon juice – brings that refreshing zing that makes these bars truly delightful.
- Lemon zest – adds extra aromatic flavor, capturing the essence of fresh lemons.
- All-purpose flour – the backbone of the recipe, providing structure to the brownies.
- Baking powder – ensures these bars rise evenly, giving them a light texture.
- Salt – enhances all the flavors, making them pop.
For the Dusting
- Powdered sugar (optional) – adds a sweet, elegant finish that makes these bars look as good as they taste.
Ready to whip up these Lemon Brownie Bars? Let’s get baking, and brighten your day!
Step‑by‑Step Instructions for Lemon Brownie Bars
Step 1: Preheat the Oven
Begin by preheating your oven to 350°F (175°C). This ensures it reaches the perfect temperature before you bake your Lemon Brownie Bars, giving them a beautifully baked finish. While the oven is heating, gather your mixing bowls and whisk, which will come in handy for the next steps.
Step 2: Combine Butter and Sugar
In a large mixing bowl, pour in the melted unsalted butter and granulated sugar. Using a whisk, mix these ingredients together until they are well combined and smooth, approximately 1-2 minutes. This mixture serves as the rich base of your Lemon Brownie Bars and should appear glossy as you mix.
Step 3: Mix in Eggs and Lemons
Crack two large eggs into the buttery mixture, adding in the fresh lemon juice and zest from two lemons. Stir well until the mixture is fully blended and appears creamy, taking about 1-2 minutes. The zesty aroma will start to fill your kitchen, promising a tasty treat is on the way!
Step 4: Whisk the Dry Ingredients
In a separate bowl, whisk together the all-purpose flour, baking powder, and salt. This step is crucial for ensuring an even distribution of the leavening agent, which will help your Lemon Brownie Bars rise perfectly. Aim for a light and airy consistency in this dry mixture, which should take about 1-2 minutes of whisking.
Step 5: Combine Wet and Dry Mixtures
Gradually add the dry mixture to the wet ingredients, mixing gently to combine. Use a spatula to fold the ingredients together until just combined; be careful not to overmix, as this could affect the texture of your Lemon Brownie Bars. The batter should look thick and smooth without any flour streaks.
Step 6: Pour the Batter
Pour the batter into a greased baking dish, spreading it evenly with a spatula. This ensures that your Lemon Brownie Bars bake uniformly. Use a spatula to smooth the top, so they rise beautifully in the oven. You’ll want a lovely, even layer for the best visual appeal.
Step 7: Bake the Bars
Place the baking dish in the preheated oven and bake for 25 minutes. Keep an eye on them as they bake; they should rise slightly and turn a light golden color. To check for doneness, insert a toothpick into the center—if it comes out clean, your Lemon Brownie Bars are ready to come out!
Step 8: Cool Completely
Once baked, remove the dish from the oven and allow the bars to cool completely in the pan. This step is crucial to prevent crumbling when you cut them. Let them sit on a cooling rack for about 15-20 minutes; the anticipation will be worth it once you taste the deliciousness!
Step 9: Serve with a Dusting
When cooled, dust the tops of your Lemon Brownie Bars with powdered sugar, if desired, to add a touch of elegance. Cut them into squares for serving, revealing their moist, lemony interior. Now they’re ready to brighten someone's day, including your own!
Make Ahead Options
These Lemon Brownie Bars are perfect for meal prep enthusiasts! You can prepare the batter up to 24 hours in advance; just refrigerate it after mixing to keep the flavors fresh. For optimal results, pour the batter into the greased baking dish and cover tightly with plastic wrap before refrigerating. When you're ready to bake, simply remove it from the fridge and let it sit at room temperature for about 15 minutes before popping it in the oven. The bars will still taste just as delicious and vibrant as if you had baked them fresh! You can also bake the bars ahead of time, and they’ll stay fresh for up to 3 days when stored in an airtight container. Enjoy the time-saving benefits of these Lemon Brownie Bars while delighting your family with a sweet treat!
Lemon Brownie Bars Variations & Substitutions
Feel free to get creative with these Lemon Brownie Bars, customizing the flavors and ingredients to suit your taste!
-
Gluten-Free: Substitute all-purpose flour with a gluten-free blend to enjoy these bars without the gluten.
For those sensitivity to gluten, there's no need to miss out! A quality gluten-free blend ensures the same delicious flavor and texture. -
Dairy-Free: Replace unsalted butter with coconut oil or a vegan butter alternative.
This swap offers a delightful hint of coconut flavor that pairs wonderfully with the lemon zest! Your dairy-free friends will thank you. -
Sweetener Swap: Try using honey or maple syrup instead of granulated sugar for a natural sweetness.
Expect a slight flavor twist that brings a warm, earthy touch to your zesty bars, enhancing the overall complexity! -
Fruit Infusion: Add blueberries or raspberries into the batter for an fruity explosion!
The burst of berries creates a beautiful contrast with the lemon flavor, making each bite a delicious surprise. -
Nutty Delight: For added texture, fold in chopped walnuts or pecans into the batter.
The crunchiness of nuts adds a fabulous dimension, creating a satisfying bite amidst the softness of the brownie bars. -
Zestier Bars: Boost that lemon flavor by adding more lemon zest or extra lemon juice.
For true lemon lovers, the more zest, the better! This enhancement makes your bars irresistibly refreshing and zesty. -
Spiced Version: Incorporate a pinch of cinnamon or cardamom for a warm twist on flavors.
These warm spices create a cozy flavor profile that plays beautifully with the citrus zing, providing a delightful surprise. -
Chocolate Drizzle: Melt some semi-sweet chocolate and drizzle it over the cooled bars for a rich finish.
This decadent touch elevates your Lemon Brownie Bars to a whole new level of indulgence, making them even more tempting!
What to Serve with Lemon Brownie Bars
Elevate your dessert experience by pairing these delightful Lemon Brownie Bars with complementary flavors and textures that will leave everyone swooning.
- Fresh Berries: The tartness of strawberries or blueberries perfectly contrasts the sweet lemony bars, making for a refreshing burst of flavor.
- Whipped Cream: A dollop of airy whipped cream adds a luxurious touch, enhancing the zesty notes of the brownies while offering a creamy texture.
- Lemon Sorbet: For a refreshing twist, serve with a scoop of lemon sorbet. The icy treat complements the warm brownie bars, keeping the citrus theme flowing.
- Green Tea: The subtle, earthy flavor of green tea provides a calming balance against the sweetness of the bars, making it an ideal beverage pairing.
- Vanilla Ice Cream: Rich, creamy vanilla ice cream not only cools down the palate but also marries beautifully with the tangy lemon flavor.
- Lemonade: A tall glass of homemade lemonade amplifies the lemony goodness of these bars, offering a sweet and tangy thirst-quencher.
- Chocolate Drizzle: Drizzling a bit of dark chocolate over your bars adds a layer of richness that beautifully contrasts the zesty lemon flavor.
- Pistachio Crumble: A sprinkle of crushed pistachios introduces a nutty texture and savory touch that balances the sweetness of the lemon brownie bars.
- Powdered Sugar: For an extra touch of elegance, dusting the bars with powdered sugar enhances their presentation while providing a touch of sweetness.
- Iced Tea: A glass of iced tea, especially with lemon slices, refreshes the palate and creates a delightful pairing with the lemon brownie bars.
How to Store and Freeze Lemon Brownie Bars
Room Temperature: Store Lemon Brownie Bars in an airtight container at room temperature for up to 3 days. Ensure they are completely cooled before sealing to maintain moisture.
Fridge: For longer freshness, keep your bars in the refrigerator for up to a week. Use parchment paper between layers to prevent sticking.
Freezer: Freeze lemon brownie bars for up to 3 months. Wrap individual bars tightly in plastic wrap, then place them in a freezer-safe bag. Thaw in the fridge or at room temperature before enjoying.
Reheating: If desired, warm them in a microwave for about 10-15 seconds to bring back that freshly baked taste. Enjoy!
Expert Tips for Lemon Brownie Bars
Don't Overmix: Gently combine wet and dry ingredients just until mixed. Overmixing can lead to tough bars that miss that delightful texture.
Use Fresh Lemons: For the best flavor, always use fresh lemon juice and zest. Bottled lemon juice lacks that bright, vibrant taste essential for Lemon Brownie Bars.
Cool Completely: Allow your bars to cool entirely in the pan before cutting. This prevents crumbling and ensures clean, beautiful slices.
Check for Doneness: Insert a toothpick into the center. If it comes out clean or with just a few crumbs, they're perfect! Undercooked can be gooey still, which isn't the desired outcome.
Dust with Care: If using powdered sugar, add it just before serving. This keeps it looking fresh and prevents it from melting into the bars!
Enjoy creating your delicious Lemon Brownie Bars!
Lemon Brownie Bars Recipe FAQs
What type of lemons should I use for the best flavor?
Absolutely use fresh, juicy lemons! Look for lemons that are bright yellow and feel firm when you squeeze them. Avoid any with dark spots or wrinkled skin; these are often less juicy and flavorful. Fresh lemon juice and zest make a world of difference in the brightness of your Lemon Brownie Bars.
How should I store Lemon Brownie Bars for optimal freshness?
To keep your Lemon Brownie Bars fresh, store them in an airtight container at room temperature for up to 3 days. If you prefer longer storage, refrigeration is best, where they’ll last up to a week. If you're tucking them away for an extended treat, freeze them wrapped tightly in plastic wrap for up to 3 months. Just remember to thaw them in the fridge or at room temperature before digging in to ensure the best taste!
Can I freeze Lemon Brownie Bars? If so, how?
Yes, you can freeze Lemon Brownie Bars! Wrap each bar tightly in plastic wrap, then place them inside a freezer-safe bag or container. It's essential to remove as much air as possible to prevent freezer burn. When you're ready to enjoy, simply let them defrost in the refrigerator overnight or at room temperature for a couple of hours—simple and effective!
Why did my Lemon Brownie Bars come out dense or undercooked?
Very! If your bars are dense, it often means they were overmixed after adding the dry ingredients, which results in a heavy texture. Ensure you mix just until combined for that perfect balance. If they come out undercooked, it’s possible that they didn’t bake long enough or your oven temperature is off. Always trust the toothpick test: if it comes out clean or with just a few crumbs, they're ready!
Are Lemon Brownie Bars safe for people with allergies?
Be mindful! These bars contain common allergens like eggs and wheat. For those with gluten sensitivities, you could try substituting all-purpose flour with a gluten-free blend. If you're making these for someone with egg allergies, I recommend testing out flaxseed meal as a binding agent—mix one tablespoon of flaxseed meal with three tablespoons of water, let it sit for 5 minutes, then use it as a replacement for one egg.
How long do Lemon Brownie Bars stay fresh in the refrigerator?
These delightful treats will last up to a week in the refrigerator when stored properly. Keep them in an airtight container, and if you’re stacking them, place parchment paper between layers to avoid sticking. You'll savor that refreshing lemon flavor for days!
Indulgent Lemon Brownie Bars That Brighten Your Day
Equipment
- mixing bowls
- whisk
- spatula
- baking dish
- Cooling rack
Ingredients
For the Brownies
- ½ cup unsalted butter melted
- 1 cup granulated sugar
- 2 large eggs
- ¼ cup fresh lemon juice
- 1 tablespoon lemon zest from about 2 lemons
- 1 cup all-purpose flour
- 1 teaspoon baking powder
- ¼ teaspoon salt
For the Dusting
- powdered sugar optional
Instructions
Step-by-Step Instructions
- Preheat your oven to 350°F (175°C).
- In a large mixing bowl, combine melted unsalted butter and granulated sugar.
- Add the eggs, fresh lemon juice, and lemon zest; mix until creamy.
- In a separate bowl, whisk together flour, baking powder, and salt.
- Gradually with the wet mixture, mix until just combined.
- Pour the batter into a greased baking dish.
- Bake in the preheated oven for 25 minutes.
- Allow to cool in the pan for about 20 minutes.
- Dust with powdered sugar before serving, if desired.