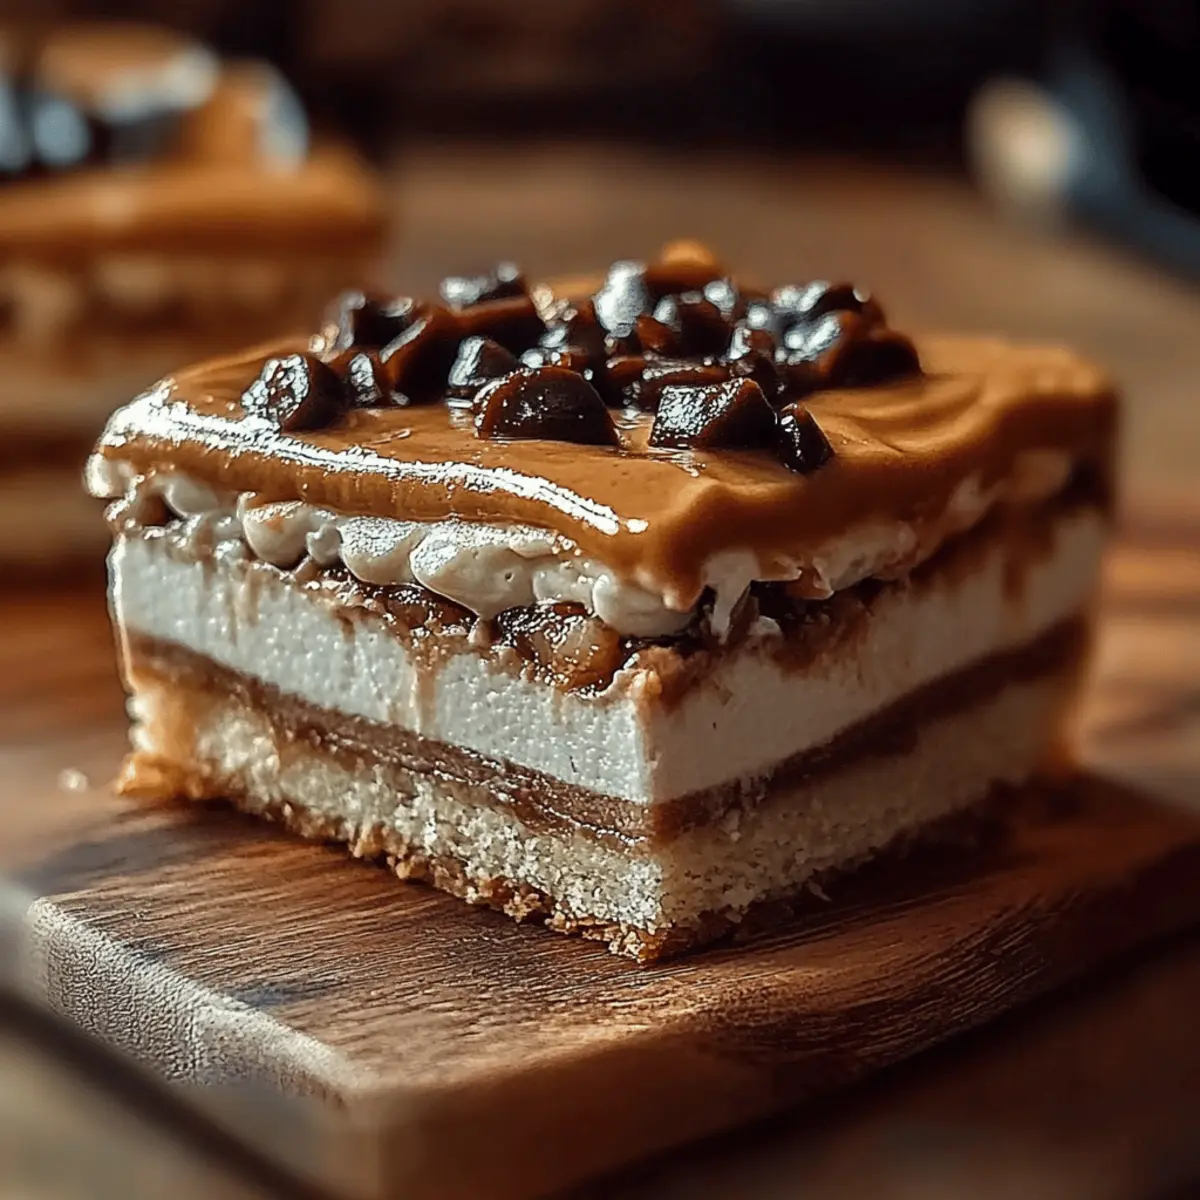
As I took a bite of the creamy No Bake Peanut Butter Cheesecake Bars, the smooth texture and rich peanut flavor took me back to my childhood—those blissful days of licking the spoon after making peanut butter cookies with my mom. This easy, no-bake recipe is a game-changer for those cozy nights when you want to indulge without spending hours in the kitchen. With just 20 minutes of prep time, you’ll create a delightful treat that's perfect for gatherings or a sweet afternoon snack. Not only do these bars cater to your sweet cravings, but they’re also freezer-friendly—ideal for whipping out whenever you need a little pick-me-up! Ready to satisfy your dessert dreams? Let’s dive into the heavenly world of peanut butter goodness!
Why Are These Bars So Irresistible?
Creamy Indulgence: Each bite of these bars is packed with rich peanut butter and smooth cream cheese, bringing a wonderfully luxurious flavor.
Quick and Easy: With just 20 minutes of hands-on prep, you'll spend less time in the kitchen and more time enjoying your dessert!
Perfect for Any Occasion: These bars are a crowd-pleaser that can elevate casual get-togethers or family dinners to something special.
Versatile Variations: Switch it up by using crunchy peanut butter or changing toppings; the possibilities are endless!
Make Ahead Magic: Refrigerate or freeze for a convenient treat that’s ready when those cravings hit. Dive into this delightful recipe today!
No Bake Peanut Butter Cheesecake Bars Ingredients
Here’s everything you need to create your own batch of irresistible no bake peanut butter cheesecake bars.
For the Crust
• Graham cracker crumbs – perfect for a sweet, crunchy base that complements the creamy filling.
• Unsalted butter – melted for binding the crust together with a rich flavor.
• Granulated sugar – adds a touch of sweetness to balance the flavors.
For the Filling
• Cream cheese – softened to ensure a smooth and creamy texture in your cheesecake bars.
• Creamy peanut butter – brings that luscious peanut flavor that makes these bars truly special.
• Powdered sugar – for a hint of sweetness and a smooth consistency.
• Vanilla extract – enhances the flavor profile with a warm, aromatic touch.
• Whipped topping (like Cool Whip) – adds a light, fluffy texture to the cheesecake filling.
Optional Toppings
• Chocolate sauce – drizzled on top for a decadent finish that pairs beautifully with peanut butter.
• Crushed peanuts – sprinkled for an added crunch and nutty flavor to elevate your dessert experience.
With these simple ingredients, you’re on your way to creating the most delectable no bake peanut butter cheesecake bars that are bound to impress friends and family alike!
Step‑by‑Step Instructions for No Bake Peanut Butter Cheesecake Bars
Step 1: Prepare the Crust
In a mixing bowl, combine 1.5 cups of graham cracker crumbs, 0.5 cup of melted unsalted butter, and 0.25 cup of granulated sugar. Stir everything together until well mixed, creating a sandy texture. Press the mixture firmly into the bottom of a greased 8x8-inch baking dish to form a solid crust. Aim for an even layer, as this will be the sturdy base for your No Bake Peanut Butter Cheesecake Bars.
Step 2: Make the Cream Cheese Filling
In a separate bowl, beat 8 oz of softened cream cheese using an electric mixer on medium speed until smooth and creamy, about 2 minutes. This step is crucial for achieving that luxurious texture in your cheesecake bars. Gradually add 1 cup of creamy peanut butter, 1 cup of powdered sugar, and 1 teaspoon of vanilla extract. Mix until everything is well combined and velvety smooth, creating a delightful filling to layer on your crust.
Step 3: Fold in Whipped Topping
Once your peanut butter mixture is creamy, gently fold in 1 cup of whipped topping, such as Cool Whip. Use a spatula to carefully combine it, ensuring you maintain the filling's light and airy texture. The whipped topping adds a fluffy element that balances the richness of the peanut butter and cream cheese mixture, making your No Bake Peanut Butter Cheesecake Bars irresistibly delightful.
Step 4: Assemble the Bars
Spread the creamy peanut butter filling evenly over the prepared crust in the baking dish, smoothing the top with a spatula for an even surface. Make sure to reach the edges, sealing in the flavorful filling. This step is essential for creating perfectly layered No Bake Peanut Butter Cheesecake Bars that slice beautifully once set.
Step 5: Refrigerate to Set
Cover the baking dish with plastic wrap and place it in the refrigerator. Allow the bars to chill for at least 4 hours, or until the filling is firm and set. This chilling time helps all the flavors meld together and gives the cheesecake bars a delightful texture. As it sets, you’ll notice the top becomes firmer, making them easier to cut later.
Step 6: Cut and Serve
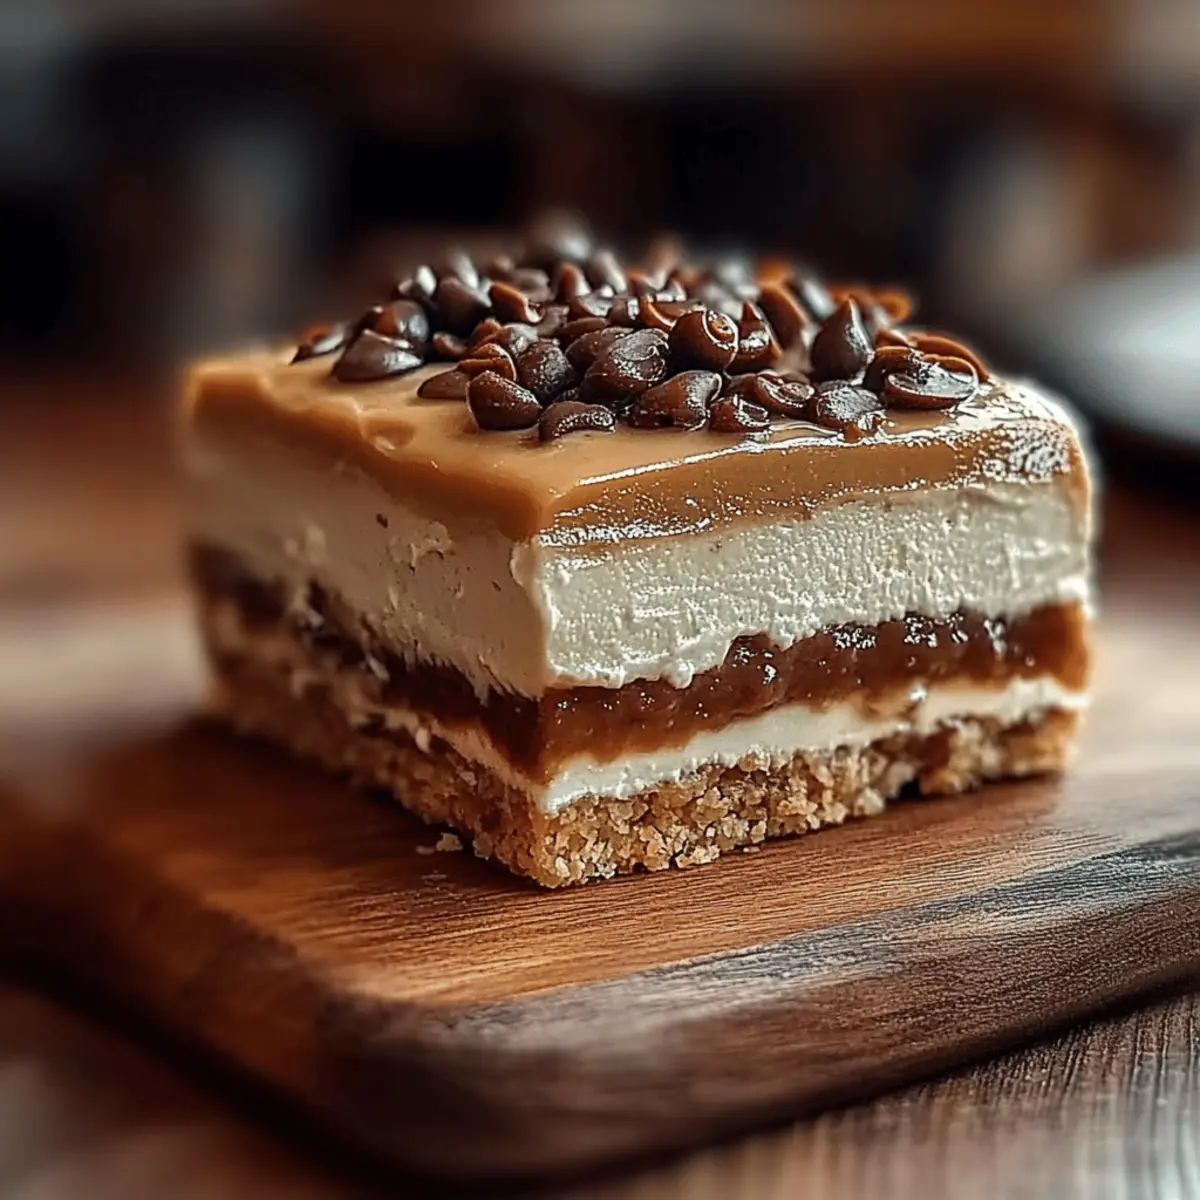
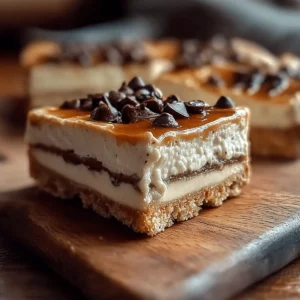
Once the bars have fully set, remove the baking dish from the refrigerator. Use a sharp knife to cut the dessert into squares, aiming for 9 generous portions. For an added treat, drizzle with chocolate sauce and sprinkle crushed peanuts on top before serving. This finishing touch enhances both the presentation and flavor of your No Bake Peanut Butter Cheesecake Bars. Enjoy your delicious creation!
Make Ahead Options
These No Bake Peanut Butter Cheesecake Bars are a fantastic choice for meal prep, allowing you to save time during busy weeks! You can prepare the crust and filling up to 24 hours in advance. Simply follow the steps to make the crust and mix the filling, then layer them in the baking dish. Cover and refrigerate until you're ready to complete the recipe. To retain freshness, ensure the bars are well-covered to prevent drying out. When you're ready to serve, allow them to chill for at least 4 hours before slicing. With these make-ahead options, you’ll have delicious, creamy cheesecake bars waiting for you, perfect for quick cravings or unexpected guests!
No Bake Peanut Butter Cheesecake Bars Variations
Unlock a world of possibilities and make these bars your own with some delightful twists and substitutions!
-
Crunchy Peanut Butter: Substitute creamy peanut butter with crunchy for an extra texture boost. The delightful crunch elevates each bite.
-
Light Cream Cheese: Swap regular cream cheese for light cream cheese to give a lower calorie option without skimping on taste. Your waistline will thank you!
-
Maple Syrup: Replace granulated sugar with maple syrup for a natural sweetness and a hint of flavor complexity. It adds a warm, comforting touch.
-
Almonds: Instead of crushed peanuts, use finely chopped almonds on top. They offer a unique nuttiness and a delightful crunch that pairs wonderfully with the peanut butter.
-
Spicy Heat: Mix in a pinch of cayenne pepper or a dash of chili powder for a surprising heat element. This unexpected kick will tantalize your taste buds!
-
Coconut Flakes: Fold in unsweetened shredded coconut into the filling for a tropical twist. The coconut pairs beautifully with the peanut butter, creating an exotic flavor combo.
-
Nut-Free Option: Substitute peanut butter with sunflower seed butter for a nut-free version that’s equally creamy and delicious. Perfect for those with nut allergies.
-
Vegan Friendly: Use vegan cream cheese and whipped topping along with a dairy-free butter alternative for a plant-based treat that everyone can enjoy! You'll indulge in peanut butter bliss without any guilt.
Experiment with these variations to find your perfect combination, elevating your No Bake Peanut Butter Cheesecake Bars to new heights!
How to Store and Freeze No Bake Peanut Butter Cheesecake Bars
Fridge: Store any leftover bars in an airtight container in the refrigerator for up to 1 week. This helps maintain their creamy texture and delicious flavor.
Freezer: You can freeze these cheesecake bars for up to 3 months. Wrap them tightly in plastic wrap and then in aluminum foil to prevent freezer burn.
Thawing: To enjoy after freezing, simply transfer the bars to the fridge to thaw for a few hours or let them sit at room temperature for about 30 minutes before serving.
Serving Tip: For the best experience, serve chilled. Add drizzles of chocolate sauce and crushed peanuts right before indulging for that added touch of decadence!
What to Serve with No Bake Peanut Butter Cheesecake Bars
As you prepare to enjoy these creamy delights, let’s elevate your dessert experience with some perfect pairings that will tantalize your taste buds.
-
Fresh Berries: Juicy strawberries or blueberries add a burst of freshness, balancing the richness of the cheesecake bars. Their natural sweetness complements the creamy peanut butter beautifully.
-
Chocolate Milkshake: Indulge in the classic combo of peanut butter and chocolate with a creamy milkshake. The flavors meld seamlessly, creating a delightful treat that you won’t want to resist.
-
Vanilla Ice Cream: A scoop of vanilla ice cream provides a cool and creamy contrast, making each bite feel extra special. The luscious vanilla flavor pairs harmoniously with the peanut butter.
-
Coffee: A warm cup of coffee enhances the flavors of the bars and brings a delightful bitterness that balances their sweetness. The aromatic notes will warm your soul.
-
Salted Caramel Sauce: Drizzling warm salted caramel on top adds an extra layer of decadence, heightening the flavors and textures of the cheesecake bars. It's a rich complement that contrasts beautifully with the peanut butter.
-
Whipped Cream: A dollop of whipped cream on the side not only looks inviting but also adds a light, airy texture to every bite of your dessert. The combination is simply heavenly!
Enjoy mixing and matching these delightful accompaniments with your No Bake Peanut Butter Cheesecake Bars for a truly unforgettable treat!
Expert Tips for No Bake Peanut Butter Cheesecake Bars
Perfecting the Crust: Make sure to press the crust mixture firmly into the baking dish. This ensures it holds together and gives your bars a great structure.
Cream Cheese Consistency: Always use softened cream cheese for the filling. If it's too hard, your mixture will be lumpy and not as creamy.
Folding Techniques: When incorporating the whipped topping, be gentle. This keeps the filling fluffy, ensuring that your No Bake Peanut Butter Cheesecake Bars are light and airy.
Chill Time Matters: Resist the temptation to cut the bars too early! Allow them a full 4 hours to set in the refrigerator for that perfect slice.
Topping Ideas: Get creative with your toppings! Besides chocolate sauce and crushed peanuts, consider drizzling caramel or adding sprinkles for a festive touch.
No Bake Peanut Butter Cheesecake Bars Recipe FAQs
How do I choose the best peanut butter for this recipe?
Absolutely! For the creamiest bars, use a high-quality creamy peanut butter without added sugars or hydrogenated oils. Natural peanut butter with just peanuts and salt provides great flavor and texture. Avoid crunchy varieties for a smoother filling unless you’re keen on adding extra crunch.
What’s the best way to store leftover bars?
Very! Store any leftover no bake peanut butter cheesecake bars in an airtight container in the refrigerator. They’ll stay fresh for up to 1 week while maintaining their creamy texture. Just make sure to keep them well-sealed to prevent any fridge odors from seeping in!
Can I freeze No Bake Peanut Butter Cheesecake Bars? How?
Yes, you can freeze them for up to 3 months! Just wrap the cut bars tightly in plastic wrap first, then follow with a layer of aluminum foil to prevent freezer burn. When you’re ready to enjoy them, just take them out and let them thaw in the fridge for a few hours, or set them at room temperature for about 30 minutes.
What if my filling turns out lumpy?
If your filling is lumpy, it often means the cream cheese wasn’t softened enough. To avoid this problem, ensure your cream cheese is at room temperature before mixing—this usually takes about 30 minutes out of the fridge. If lumpy, you can try mixing longer, but don’t overdo it. Stick with room-temp ingredients for the best creamy texture!
Are there any dietary considerations for this recipe?
Indeed! If you have nut allergies, you can use sunflower seed butter instead of peanut butter. For gluten sensitivities, ensure your graham cracker crumbs are gluten-free. Additionally, check your whipped topping brand because some contain dairy. If you’re looking for a lighter option, using low-fat cream cheese and whipped topping can work perfectly, though the taste may slightly differ.
How long should I let the bars chill before serving?
I recommend chilling them for at least a full 4 hours before cutting into squares. This time allows the flavors to meld beautifully and the filling to set, ensuring you have the perfect slice. Patience is key to delicious results!
Indulge in No Bake Peanut Butter Cheesecake Bars Today
Equipment
- mixing bowl
- electric mixer
- spatula
- 8x8-inch baking dish
Ingredients
Crust
- 1.5 cups graham cracker crumbs perfect for a sweet, crunchy base
- 0.5 cups unsalted butter melted for binding
- 0.25 cups granulated sugar adds sweetness
Filling
- 8 oz cream cheese softened
- 1 cups creamy peanut butter provides luscious flavor
- 1 cups powdered sugar for sweetness
- 1 teaspoon vanilla extract enhances flavor
- 1 cups whipped topping like Cool Whip
Optional Toppings
- to taste chocolate sauce for drizzling
- to taste crushed peanuts for added crunch
Instructions
Make the Bars
- Prepare the crust by combining graham cracker crumbs, melted unsalted butter, and granulated sugar in a mixing bowl. Press into the bottom of a greased 8x8-inch baking dish.
- Make the cream cheese filling by beating softened cream cheese until smooth, then gradually adding creamy peanut butter, powdered sugar, and vanilla extract.
- Fold in whipped topping gently to maintain the airy texture of the filling.
- Spread the filling evenly over the prepared crust.
- Refrigerate for at least 4 hours to set.
- Cut into squares and serve, optionally topping with chocolate sauce and crushed peanuts.